Student Grades
Last updated: Apr 15, 2025
Student Grading
Content:
This section covers how teachers and administrators record, view, and manage student scores for various assessments throughout the academic term. Accurate grade entry is vital for calculating averages, generating report cards, and tracking student progress.
Overview
- Purpose: To input scores obtained by students for different Assessment Types (like CA1, CA2, Exam) in specific Subjects and Classes.
- Methods: Oraion offers different ways to enter grades:
- Bulk Student Grading: An efficient interface designed for entering scores for multiple students and multiple assessment types for a single subject within a class.
- Individual Grade Entry/Edit: Likely available through the "Student Grades" list or potentially linked from student profiles.
- Import Grades: A bulk upload option using a CSV file, useful for migrating scores or entering large amounts of data from offline sources.
- Dependencies: Grade entry relies on correctly configured Academic Sessions, Terms, Class Rooms, Subjects, Students, and Assessment Types. Ensure these are set up first.
- Publication: Grades often have a 'Published' status, controlling whether they are visible to students/parents or included in final report card calculations.
A. Bulk Student Grading Interface
This interface is optimized for teachers entering scores for their class and subject.
- Accessing Bulk Student Grading:
- Navigate via Sidebar: Academic Management > "Bulk Student Grading".
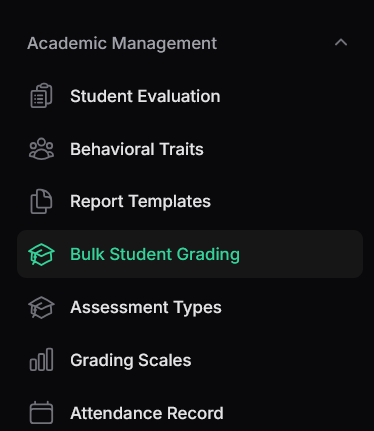
Access the Bulk Student Grading interface.
- Navigate via Sidebar: Academic Management > "Bulk Student Grading".
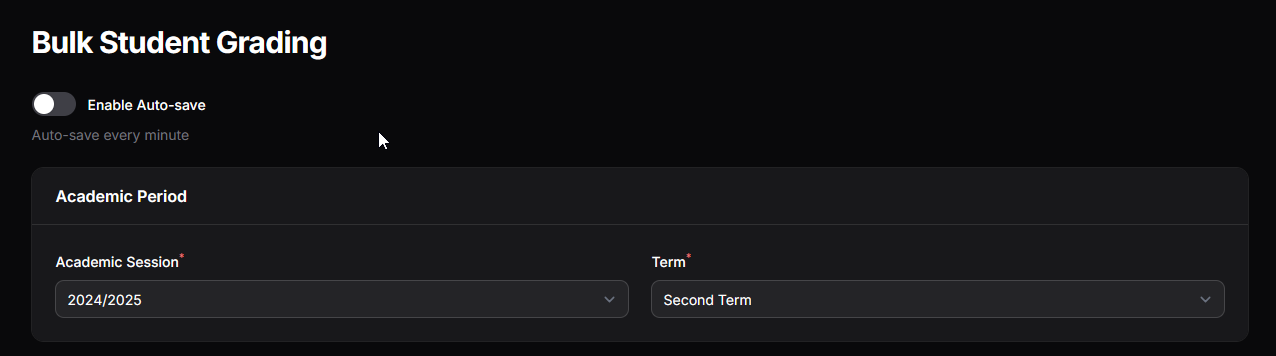
- Setting the Context:
- Academic Period: Select the correct Academic Session and Term for which you are entering grades. These usually default to the current period.
- Enable Auto-save: Toggle this ON to automatically save your entries periodically (e.g., every minute), preventing data loss.
- Entering Grades (Repeater Structure):
- The main area uses a 'Repeater' structure, allowing you to manage grades for multiple students simultaneously.
- Adding Students: Click the "Add Student" button at the bottom to add a new student entry block.
- Selecting Student & Subject:
- Within each block, first select the Class from the dropdown.
- Then, select the Student from the list filtered by the chosen class.
- Finally, select the Subject for which you are entering scores. The block header updates to show "Student Name - Subject Name" (e.g., "Hamza Umar - Basic Science").
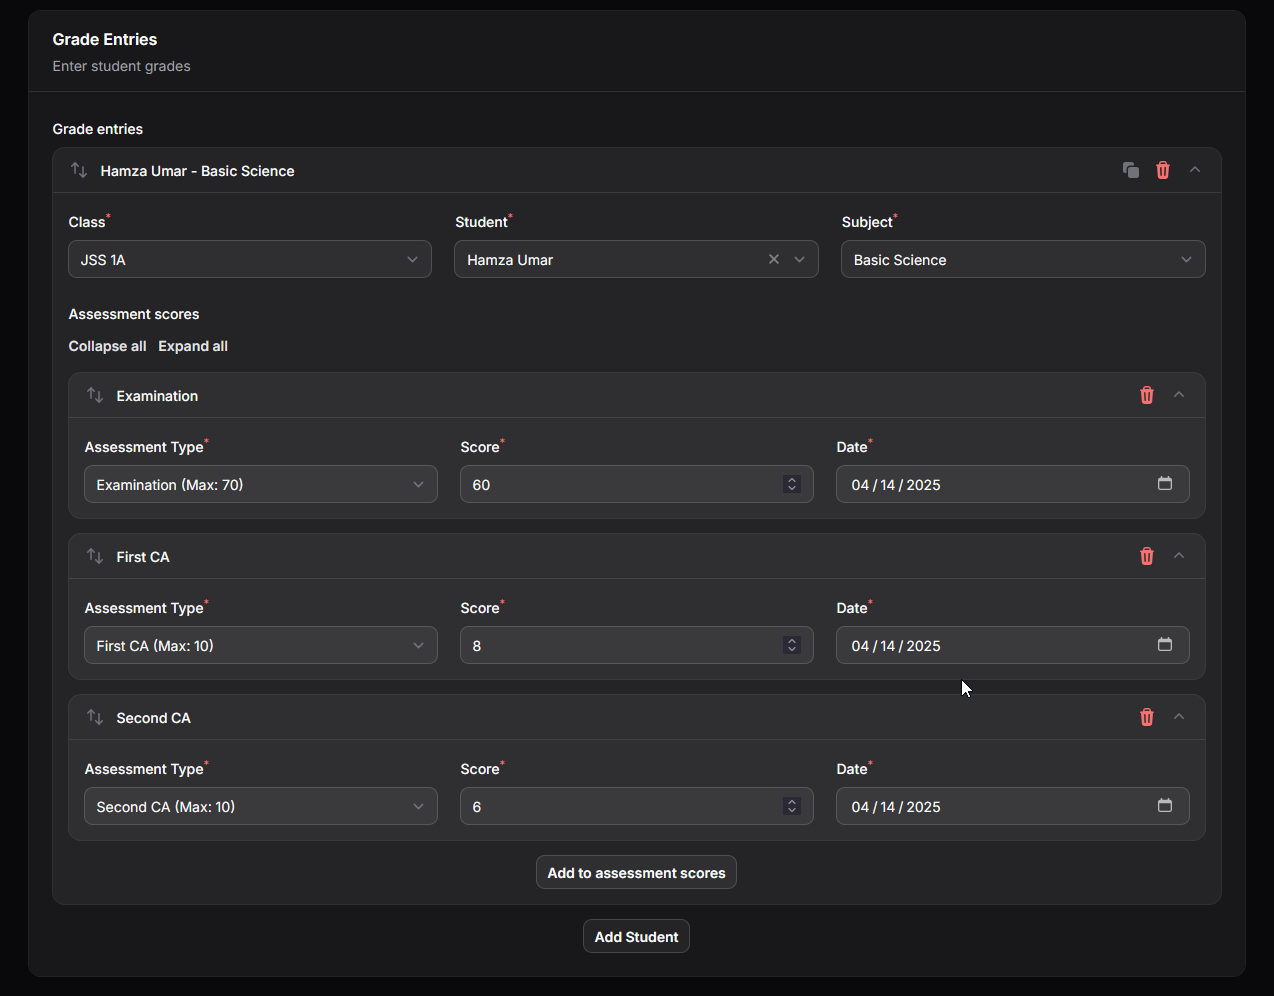
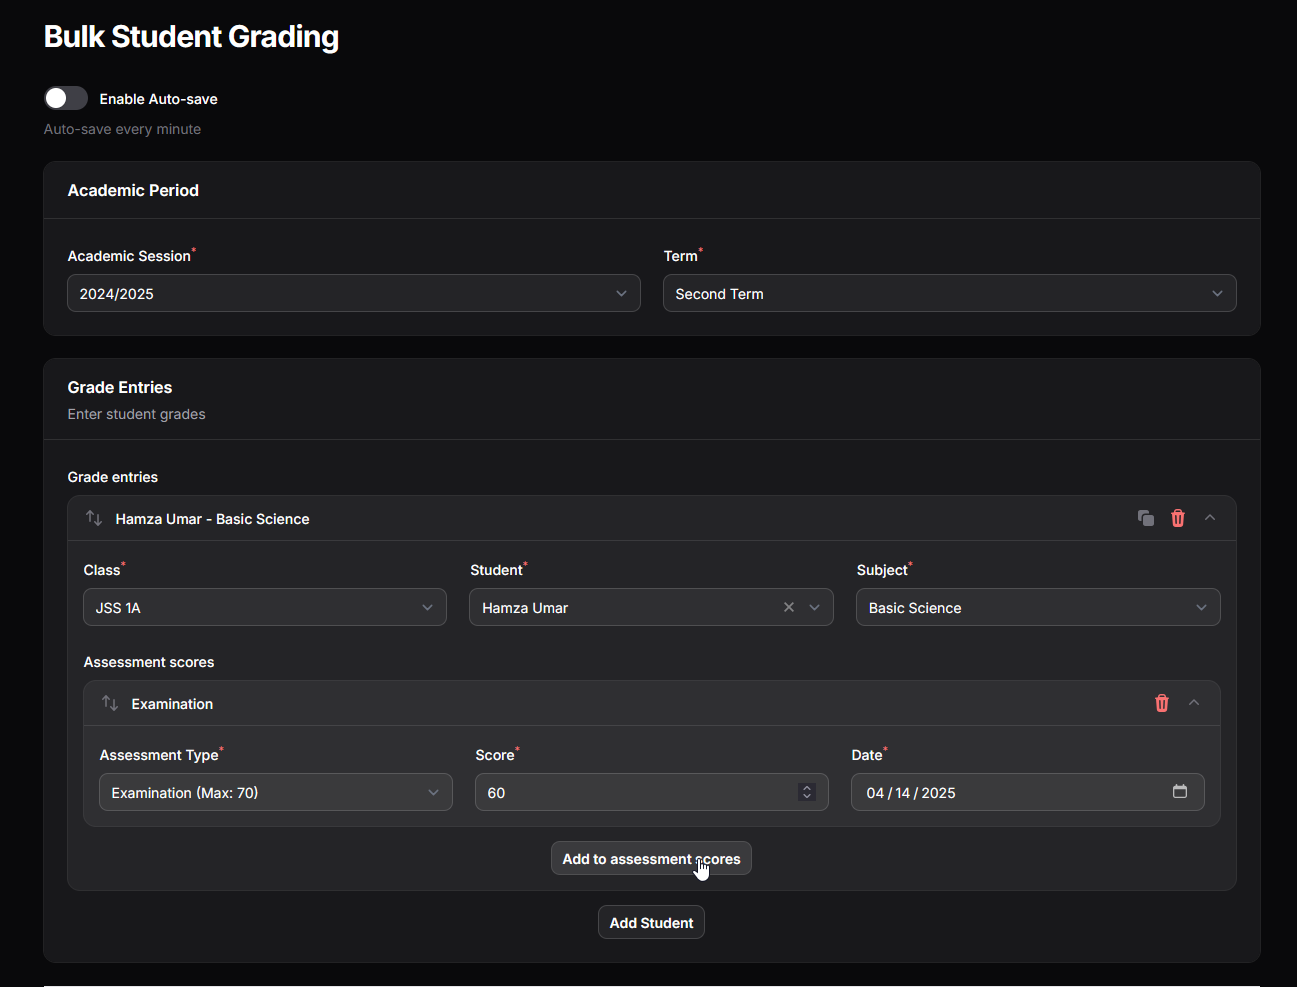
- Adding Assessment Scores:
- Inside the student/subject block, there's another repeater for "Assessment scores". Click "Add to assessment scores" to add rows for each assessment type (CA1, CA2, Exam, etc.) relevant to this grading period.
- Managing Entries: Use the Trash Can icon to remove an assessment score row or an entire student/subject block. Use the up/down arrows to reorder entries if needed.
- Saving: If Auto-save is OFF, remember to click a main "Save" or "Submit Grades" button (location may vary) periodically or when finished. If Auto-save is ON, changes are saved automatically.
B. Viewing and Managing Individual Grades ("Student Grades" List)
This section provides a comprehensive list of all individual grade records entered into the system.
- Accessing Student Grades:
- Navigate via Sidebar: Academic Management > "Student Grades".
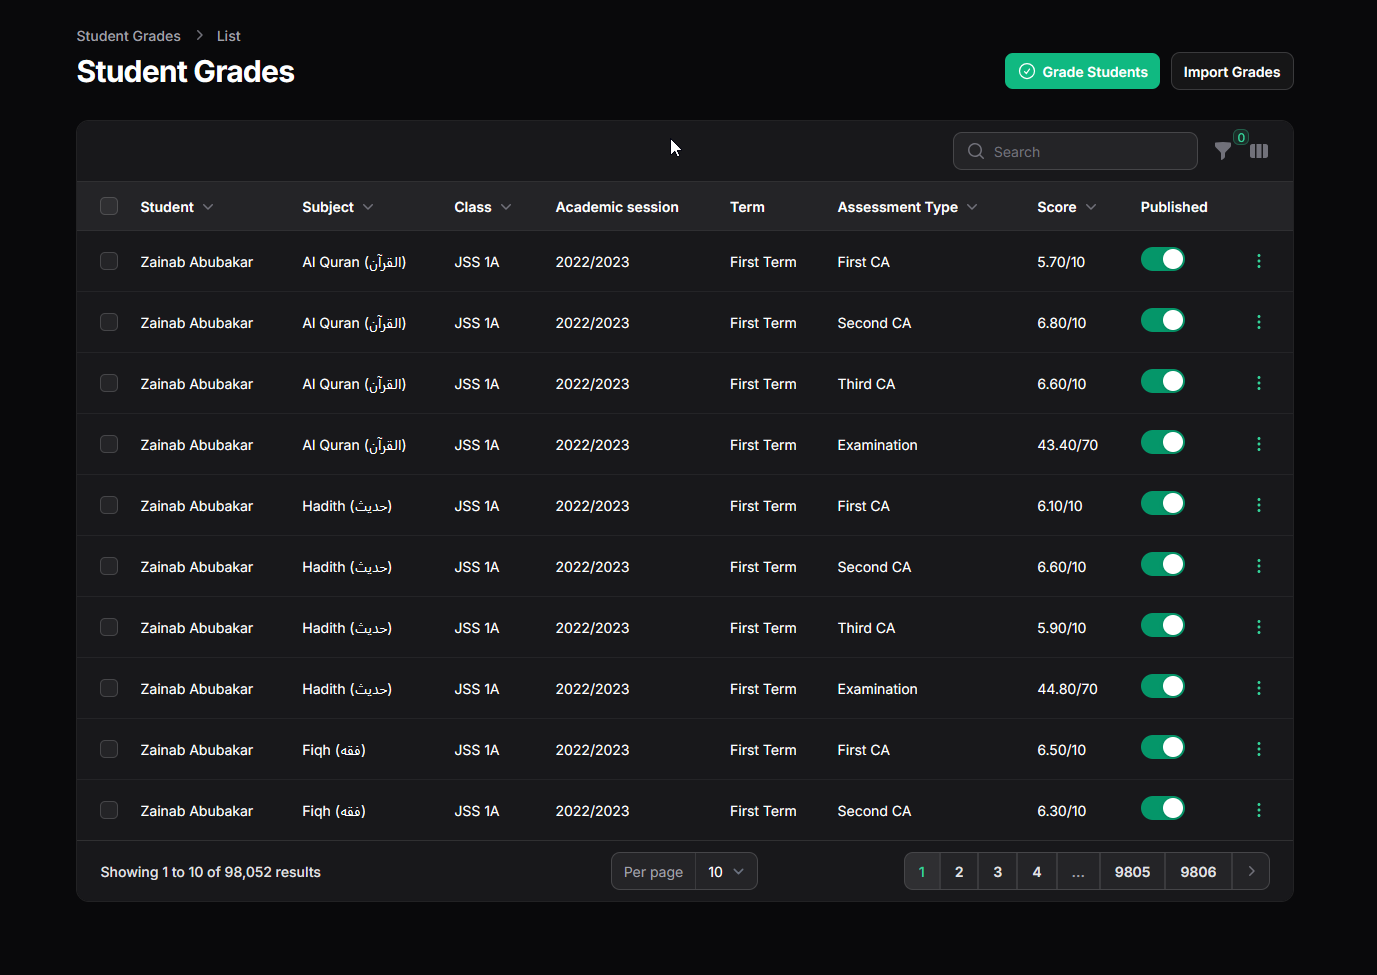
- Viewing Grades List:
- Displays individual assessment scores entered for all students, subjects, and assessment types.
- Columns: Student, Subject, Class, Academic session, Term, Assessment Type, Score (often shown as score/max), Published (toggle), Grade (letter grade calculated based on score and Grading Scales).
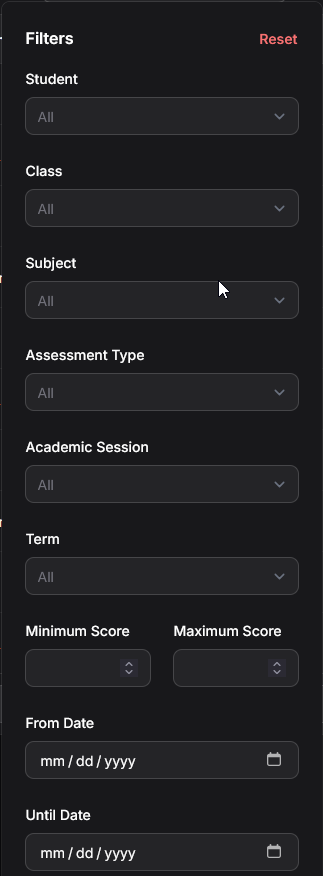
- Controls: Grade Students (likely links back to Bulk Grading), Import Grades, Search, Filter icon, Toggle columns icon.
- Actions (Row Menu): View (read-only), Edit, Delete.
- (Screenshot: Show the 'Student Grades List' view.)
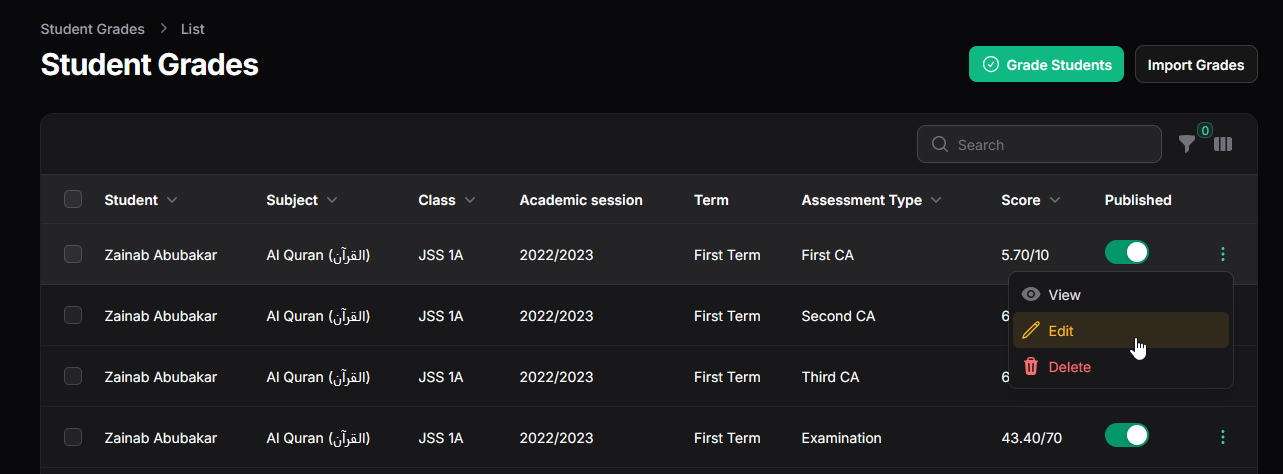
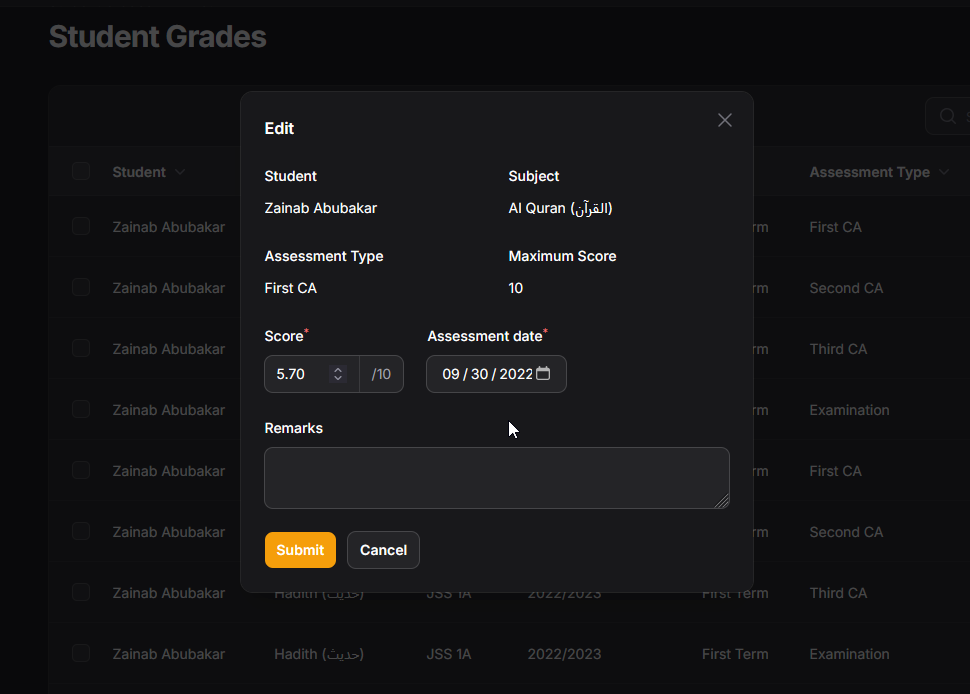
- Editing Individual Grades:
- Click the Edit action on a specific grade row.
- A modal or form appears allowing you to modify the Score, Assessment Date, and Remarks for that single entry. You can also typically toggle the Published status here.
- Save the changes.
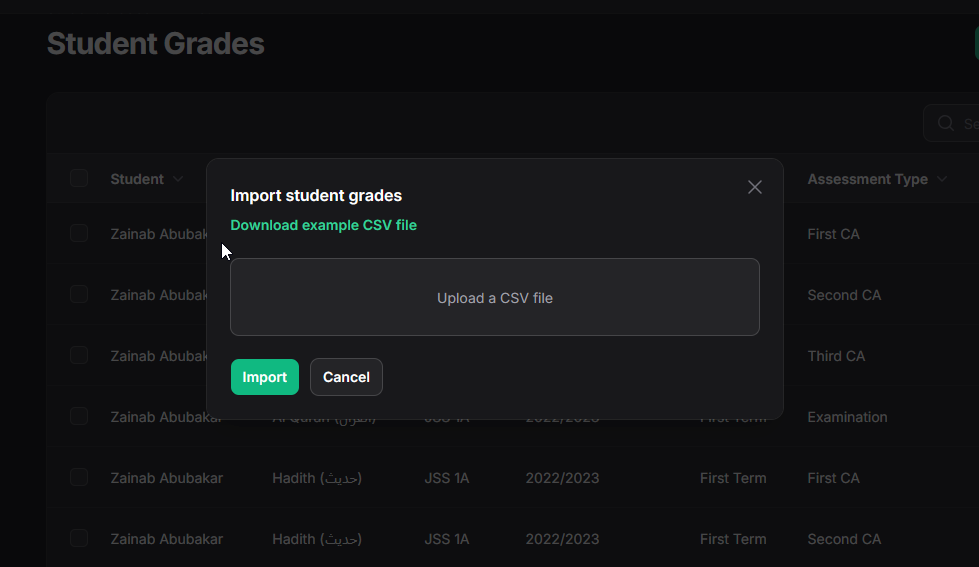
- Importing Grades (Import Grades):
- Purpose: To upload multiple grade records simultaneously from a CSV file. Useful for entering scores recorded offline.
- Process:
- Click "Import Grades".
- In the modal, "Download example CSV file" to get the required format (columns likely include Admission Number, Subject Name, Assessment Type Code, Class Name, Score, etc.).
- Prepare your data in the CSV template.
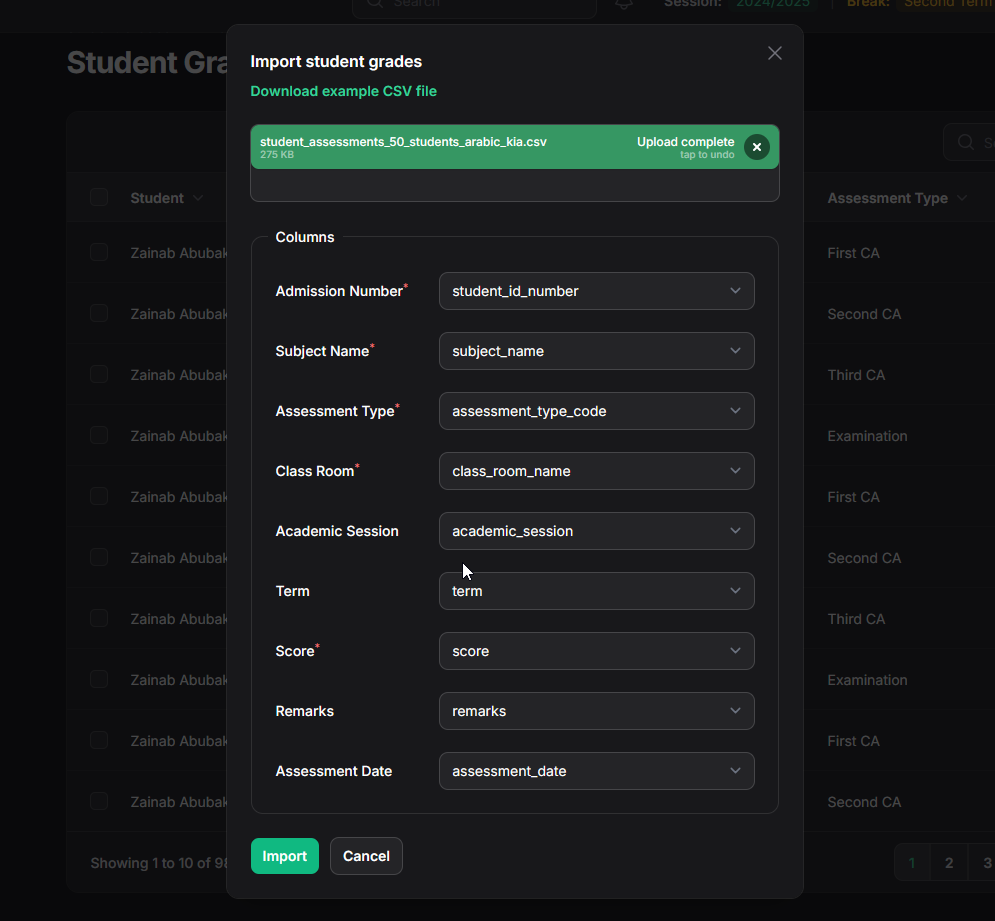
- Upload the completed file using "Upload a CSV file".
- Map Columns: Carefully verify that the columns in your file match the required Oraion fields in the mapping section of the modal.
- Choose options regarding updating existing scores or skipping duplicates.
- Click "Import". The system processes the file in the background and provides a notification summary upon completion.
Important Considerations:
- Prerequisites: Ensure Students, Subjects, Classes, Sessions, Terms, and especially Assessment Types (with correct Max Scores and Weights summing to 100%) are configured before entering grades.
- Accuracy: Double-check scores entered manually or mapped during import to ensure they are correct and do not exceed the Max Score for the corresponding Assessment Type.
- Published Status: Grades usually need to be marked as 'Published' (often a toggle in the list view or edit form) to be included in final calculations and appear on official report cards.
- Bulk Grading vs. Import: Bulk Grading is best for teachers entering scores live or for a single subject/class combo. Import Grades is better for bringing in large datasets prepared offline.
Accurate and timely grade entry using these tools is essential for calculating student averages, ranking, and generating meaningful report cards.
On this page
On this page
Related Articles
Grading Scales
Setting Up Grading ScalesGrading Scales define how numerical scores (percentages) are translated into letter grades (e.g., A, B, C) and descriptive re...
Behavioral Types
Managing Behavioral TraitsContent:Behavioral Traits in Oraion refer to the psychomotor and affective domain skills and attitudes assessed in students,...
Student Evaluation
Student Evaluation (Activities, Behavior, Comments)Content:Beyond academic scores, Oraion allows for evaluating students on their participation in act...