Manage Your Subscription
Last updated: Apr 05, 2025
Choosing and Subscribing to a Plan
This guide provides step-by-step instructions on how to view available subscription plans, choose the one that best fits your school's needs, and complete the subscription process within the Oraion School Management System.
Oraion offers different subscription plans (e.g., Basic, Standard, Premium) tailored to various school sizes and feature requirements. Subscribing to a plan grants you access to the corresponding features and usage limits (like the number of students or staff accounts). You can manage your subscription, including choosing a plan and making payments, directly within the Oraion platform.
Step 1: Access the Pricing Page
- Log in to your Oraion school portal using your administrator credentials. You will land on your main Dashboard.
- In the top-left section of the sidebar, click on your School Name (e.g., "Khalil Integrated Academy") to open a dropdown menu.
- From the dropdown menu, select Pricing.
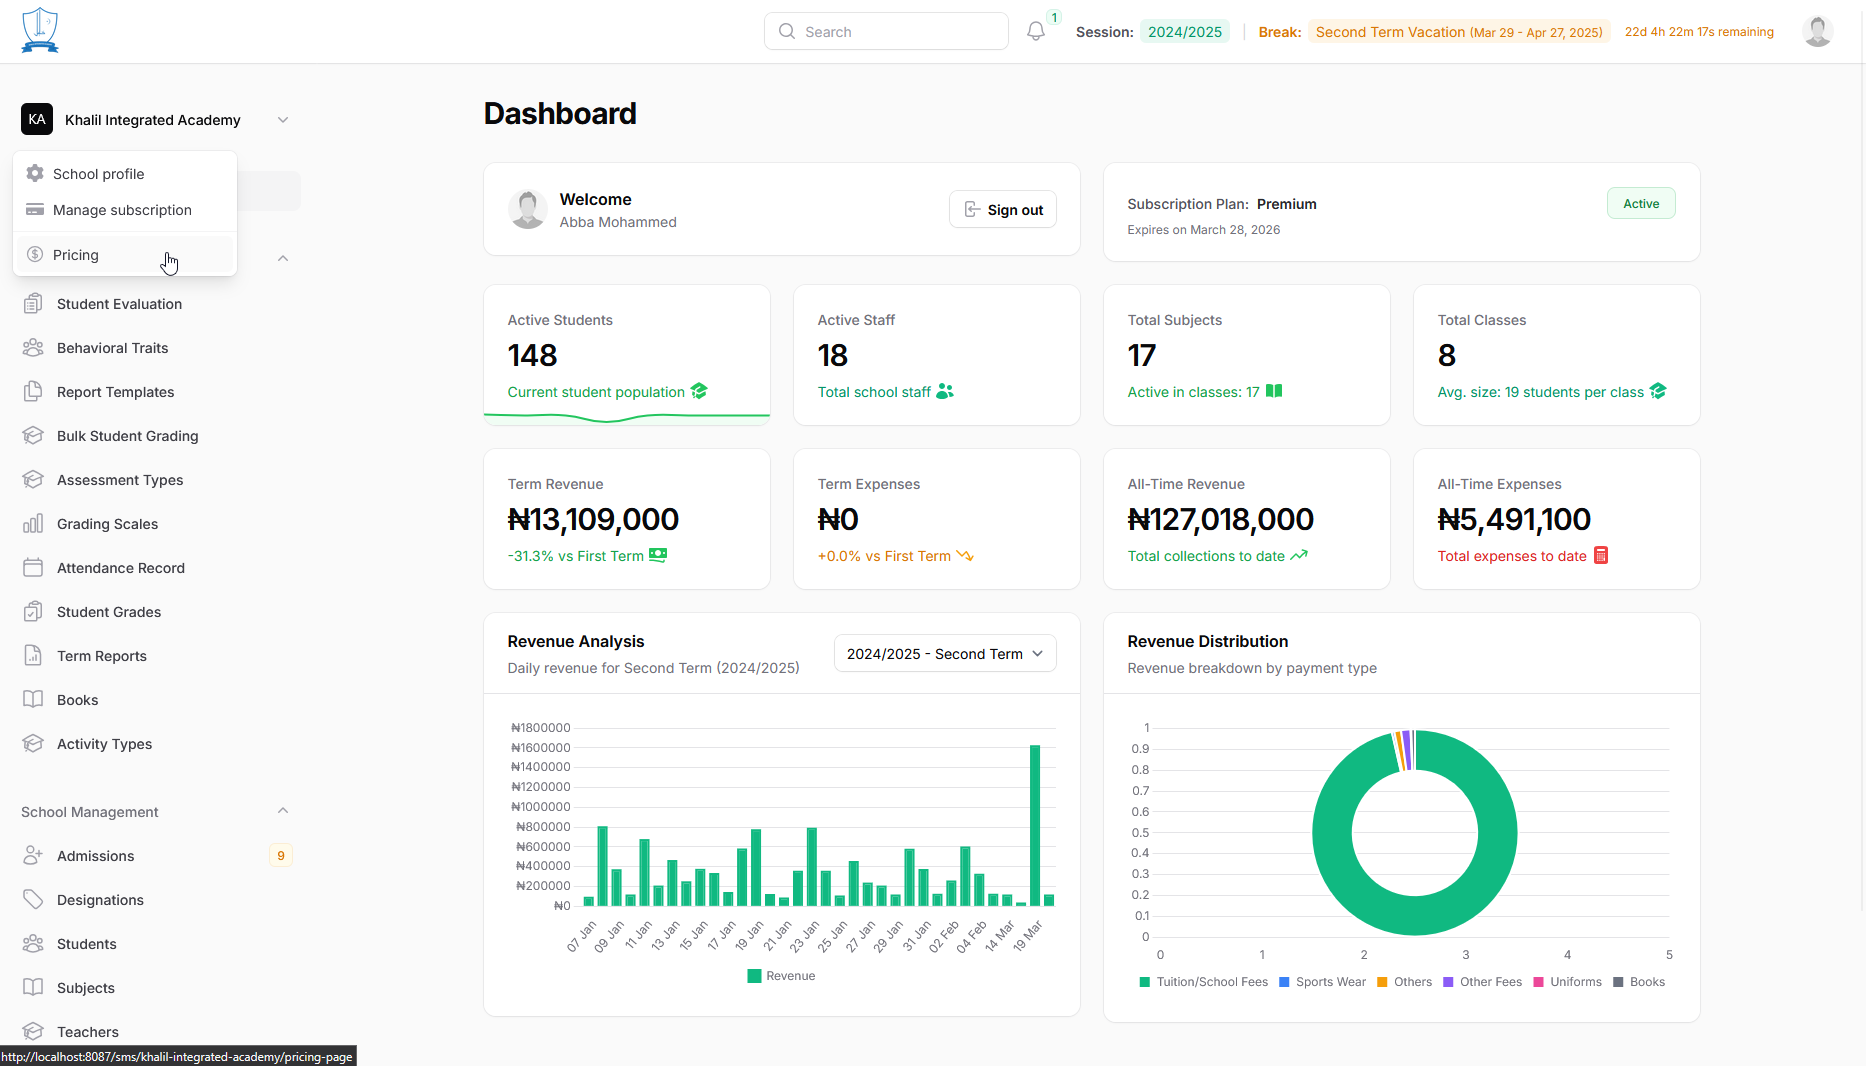
4. You will be taken to the Oraion Pricing Page, displaying the available subscription plans.
Step 2: Choose Your Billing Cycle (Monthly vs. Yearly Discount)
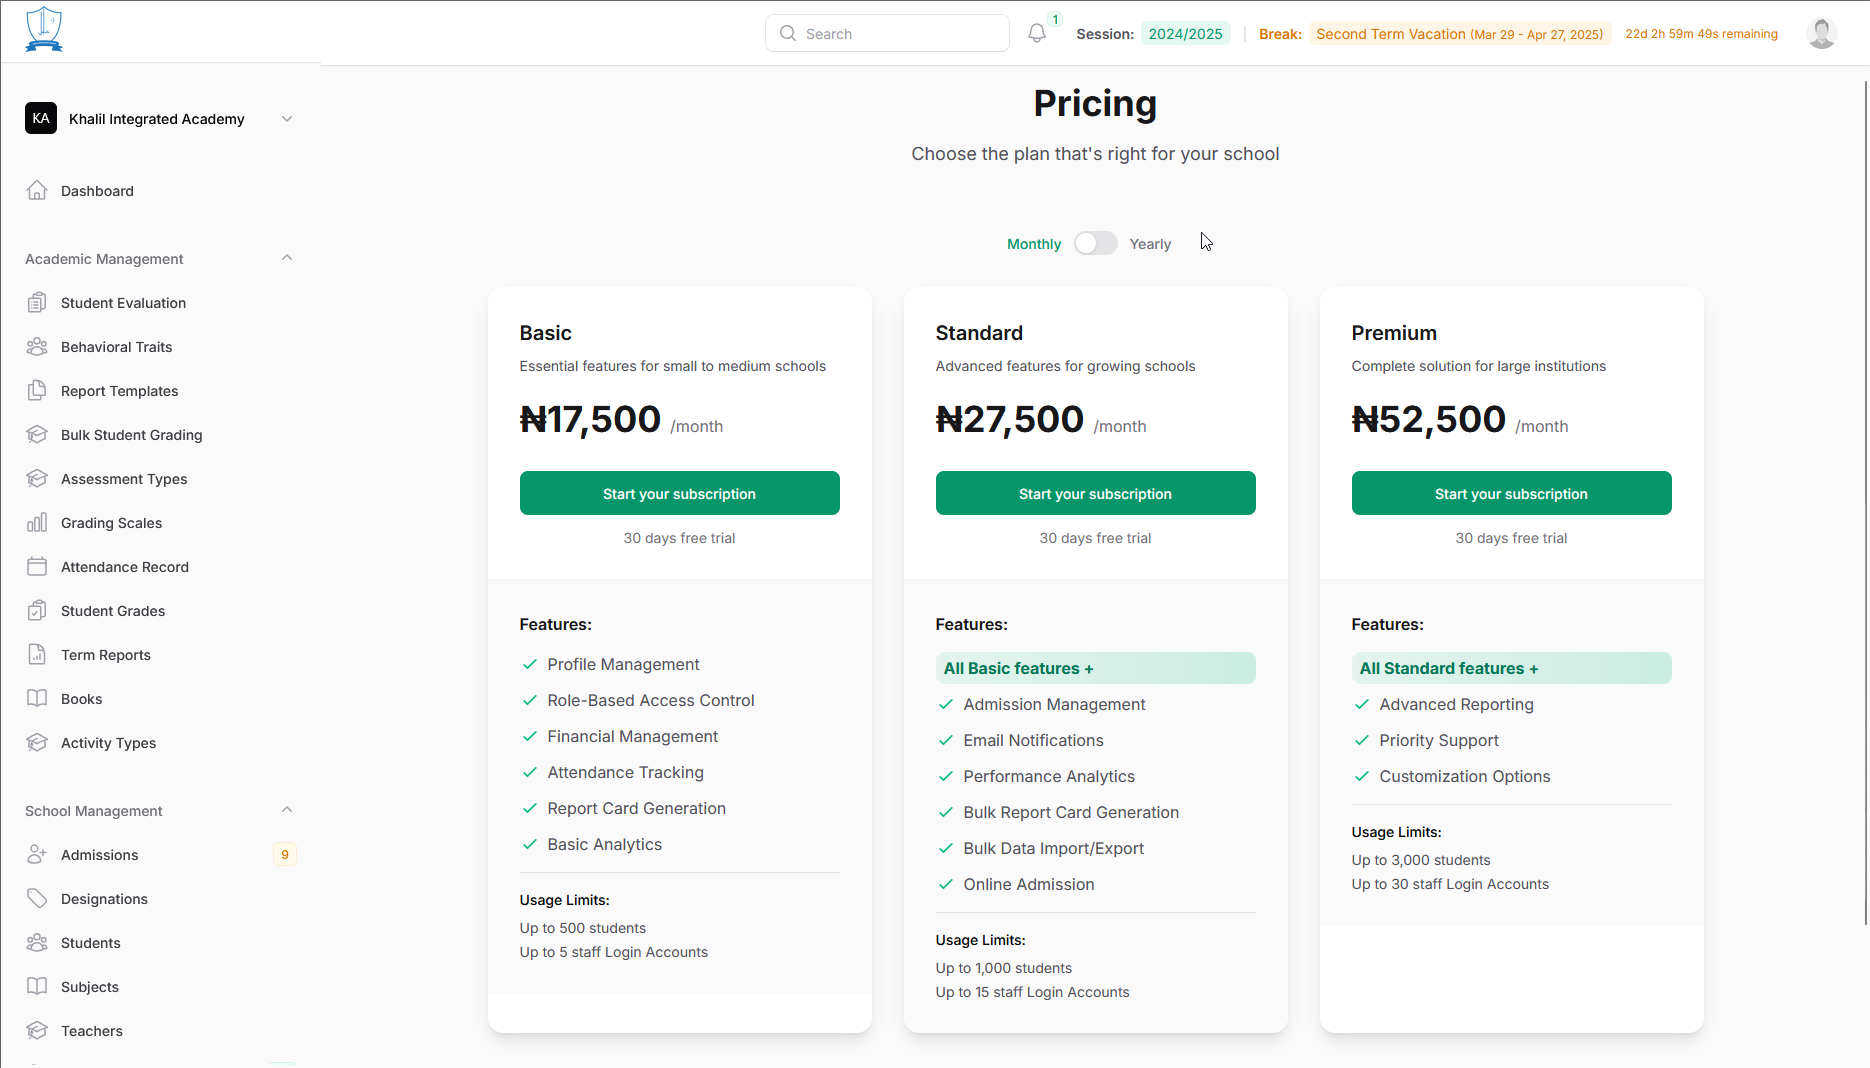
- Near the top of the Pricing page, you'll find a toggle switch to select your preferred billing cycle: Monthly or Yearly.
- The prices and plan details will update automatically based on your selection.
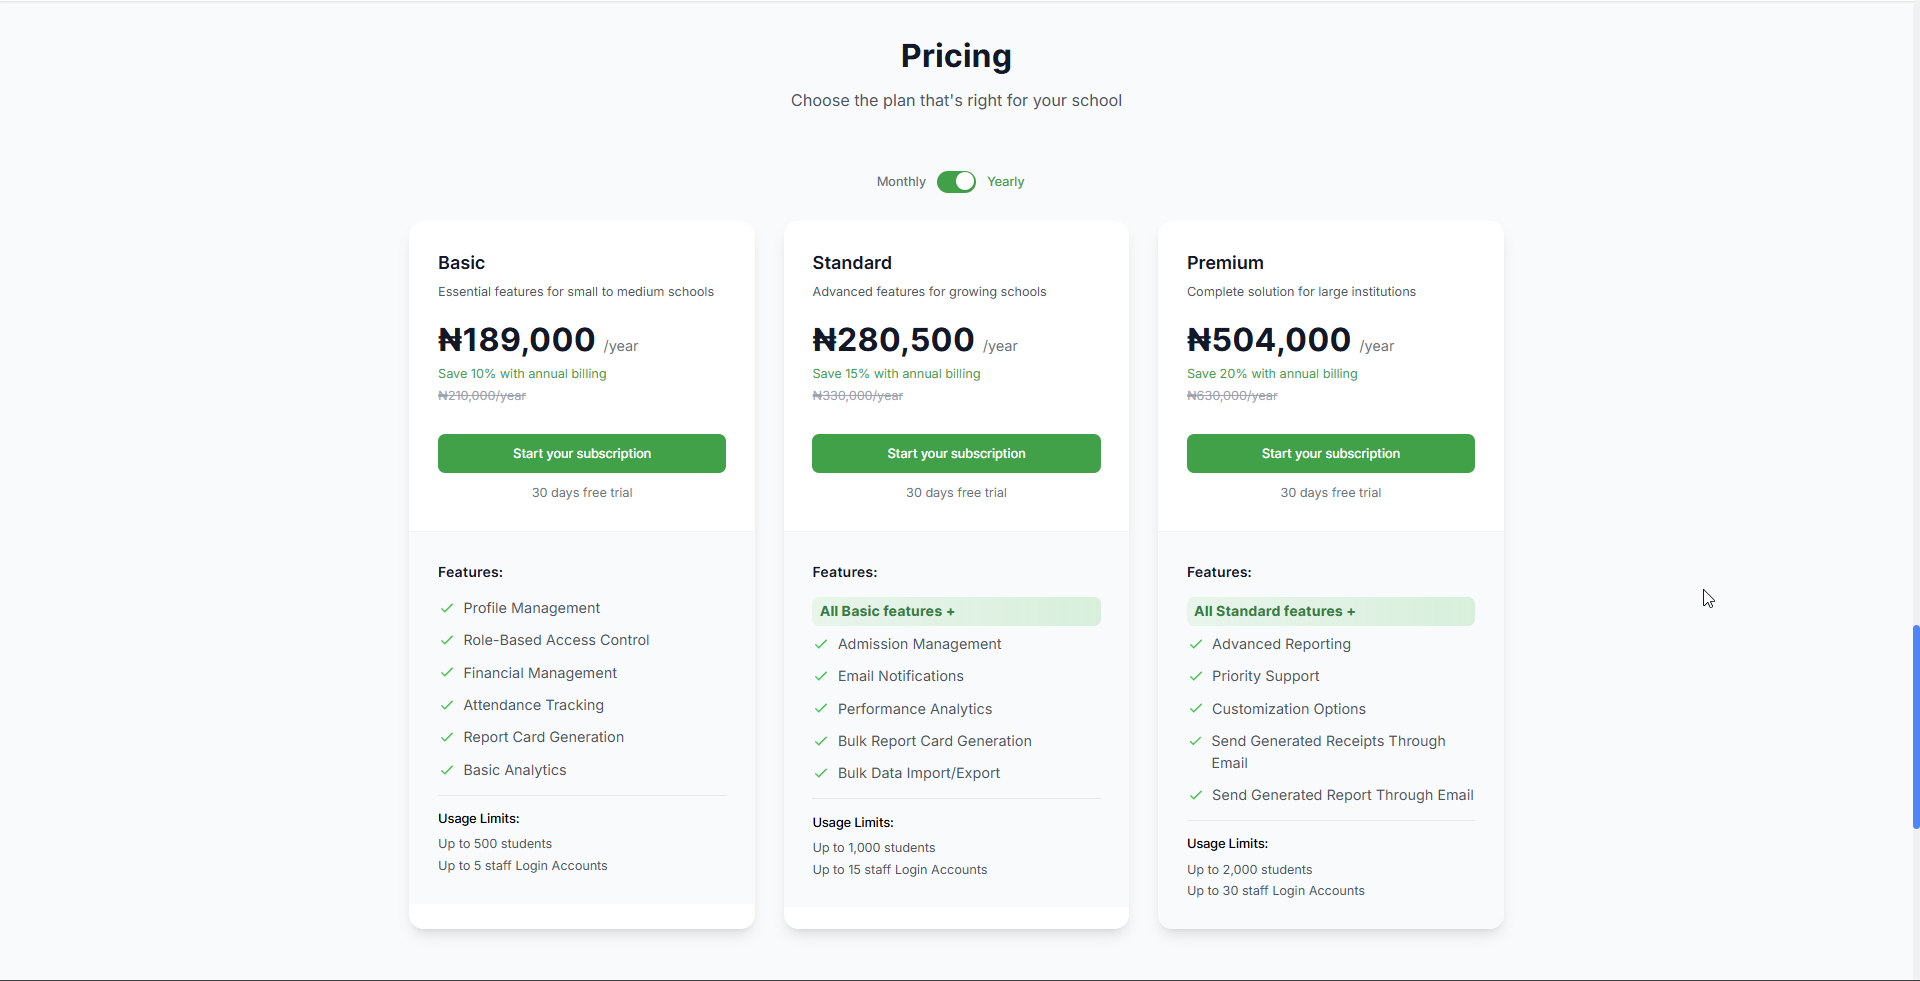
- Choosing Yearly offers a significant discount compared to paying monthly. When "Yearly" is selected:
- The displayed price per year will be lower than the total cost of 12 monthly payments.
- A message highlighting the savings will appear (e.g., "Save 10% with annual billing," "Save 15% with annual billing," "Save 20% with annual billing").
- The original, non-discounted yearly price might also be shown crossed out for comparison.
Step 3: Review and Select a Plan
- Carefully review the available plans (e.g., Basic, Standard, Premium) based on your chosen billing cycle. Each card details:
- Plan Name, Price (/month or /year), Description.
- Free Trial availability (e.g., "30 days free trial").
- Included Features (higher tiers include features from lower tiers).
- Usage Limits (students, staff accounts).
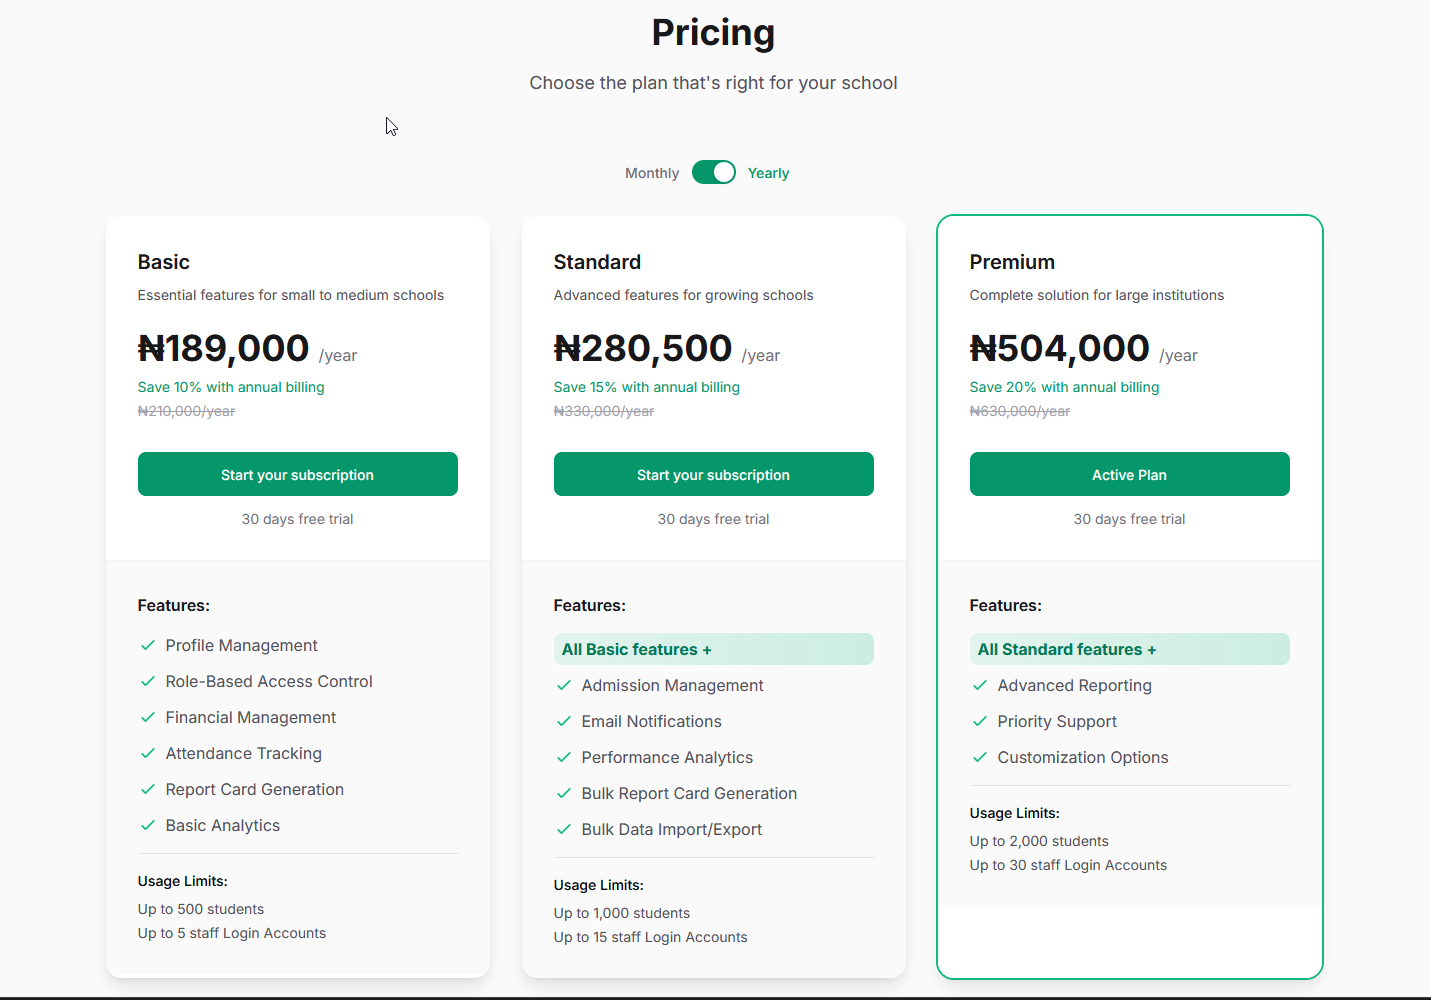
- Your currently active plan (if any) will be clearly marked, often with a distinct button or label like "Active Plan", and you won't be able to re-select it.
- Compare the other available plans to determine if you want to keep your current one, upgrade, or downgrade (if applicable).
- To choose a different plan (or your first plan), click the main action button on its card (e.g., "Start your subscription", "Choose Plan", "Upgrade Plan").
Step 4: Automatic Free Trial Activation (For New Schools Only)
- Eligibility Check: Applies only if:
- This is your school's very first time subscribing to any Oraion plan.
- AND the plan you selected in Step 3 offers a free trial.
- Automatic Activation: If eligible, the free trial activates automatically after clicking the plan's button.
- No Payment Needed (for Trial): You'll be redirected back to your dashboard. No payment details needed to start.
- If Not Eligible: Proceed directly to the Payment Form (Step 5).
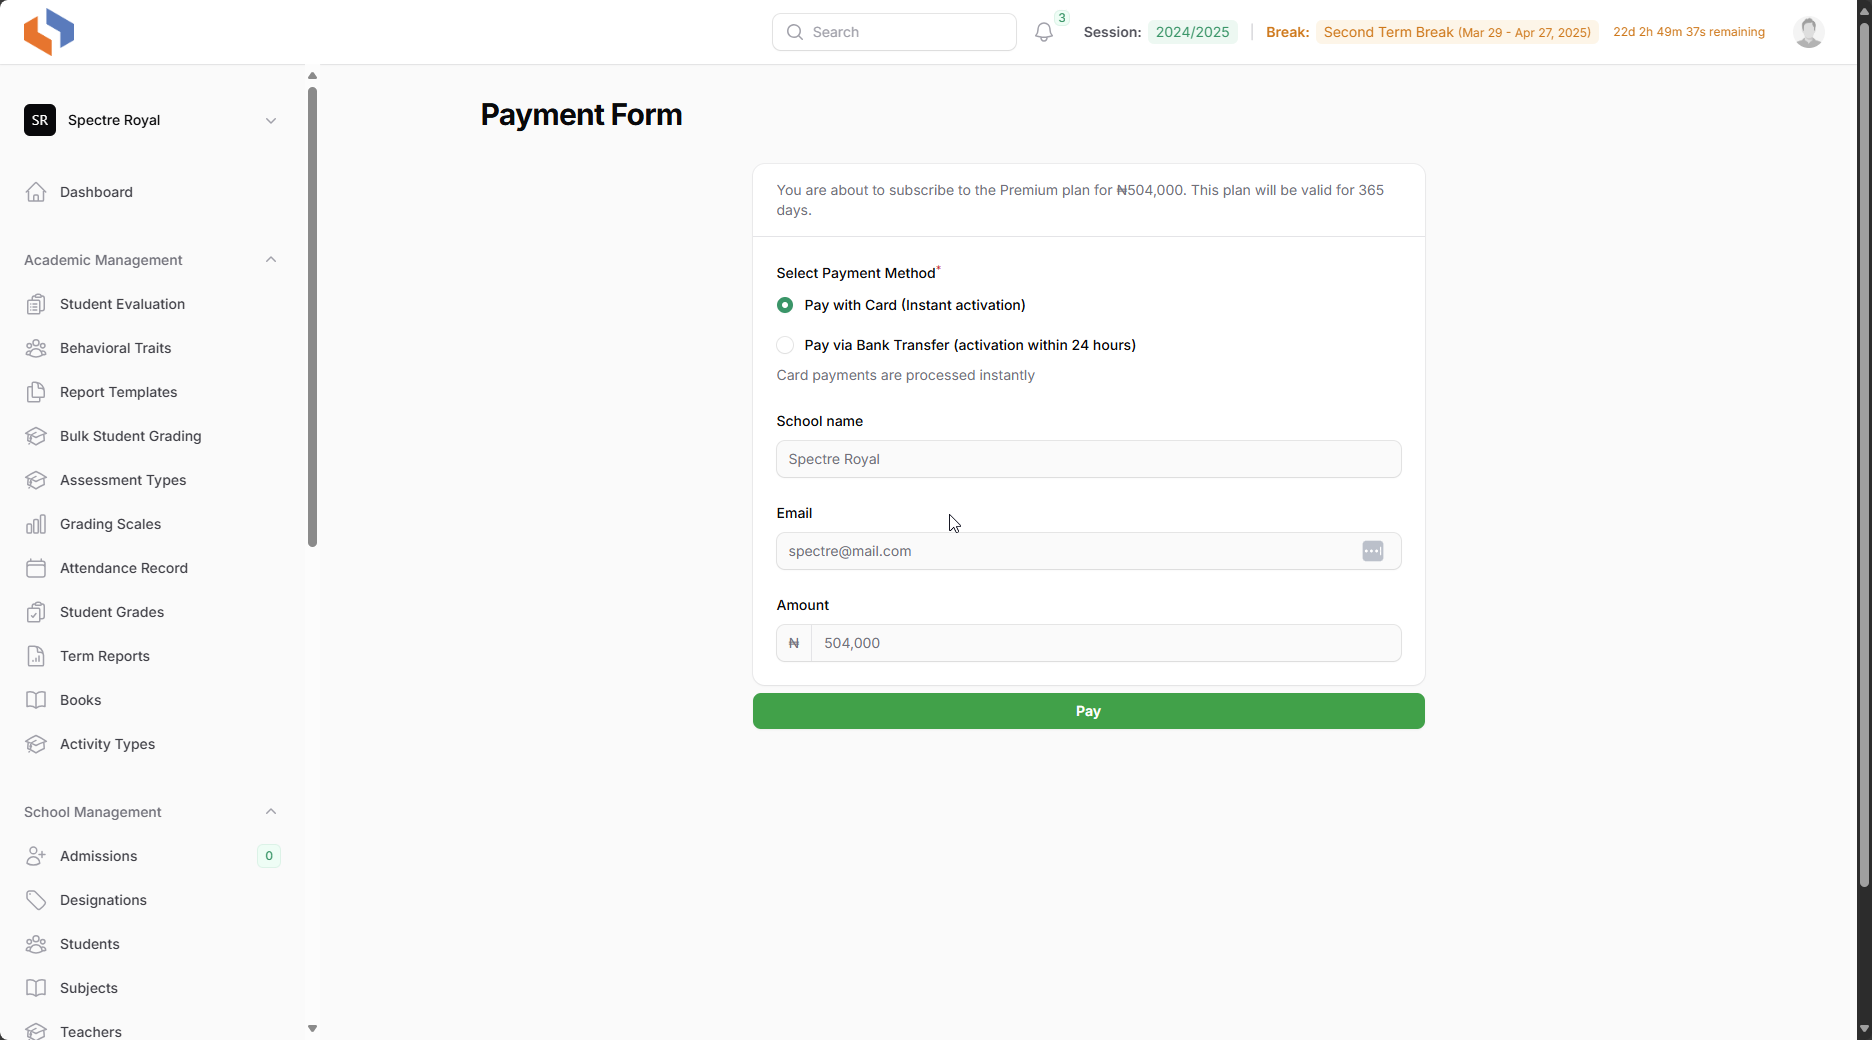
Step 5: Complete the Payment Form (If Applicable)
Seen only if payment is required (not eligible for trial, upgrading, renewing).
- Review Details: Confirm School Name, Email, Amount.
- Select Payment Method:
- Pay with Card (Instant activation): Recommended. Uses Paystack.
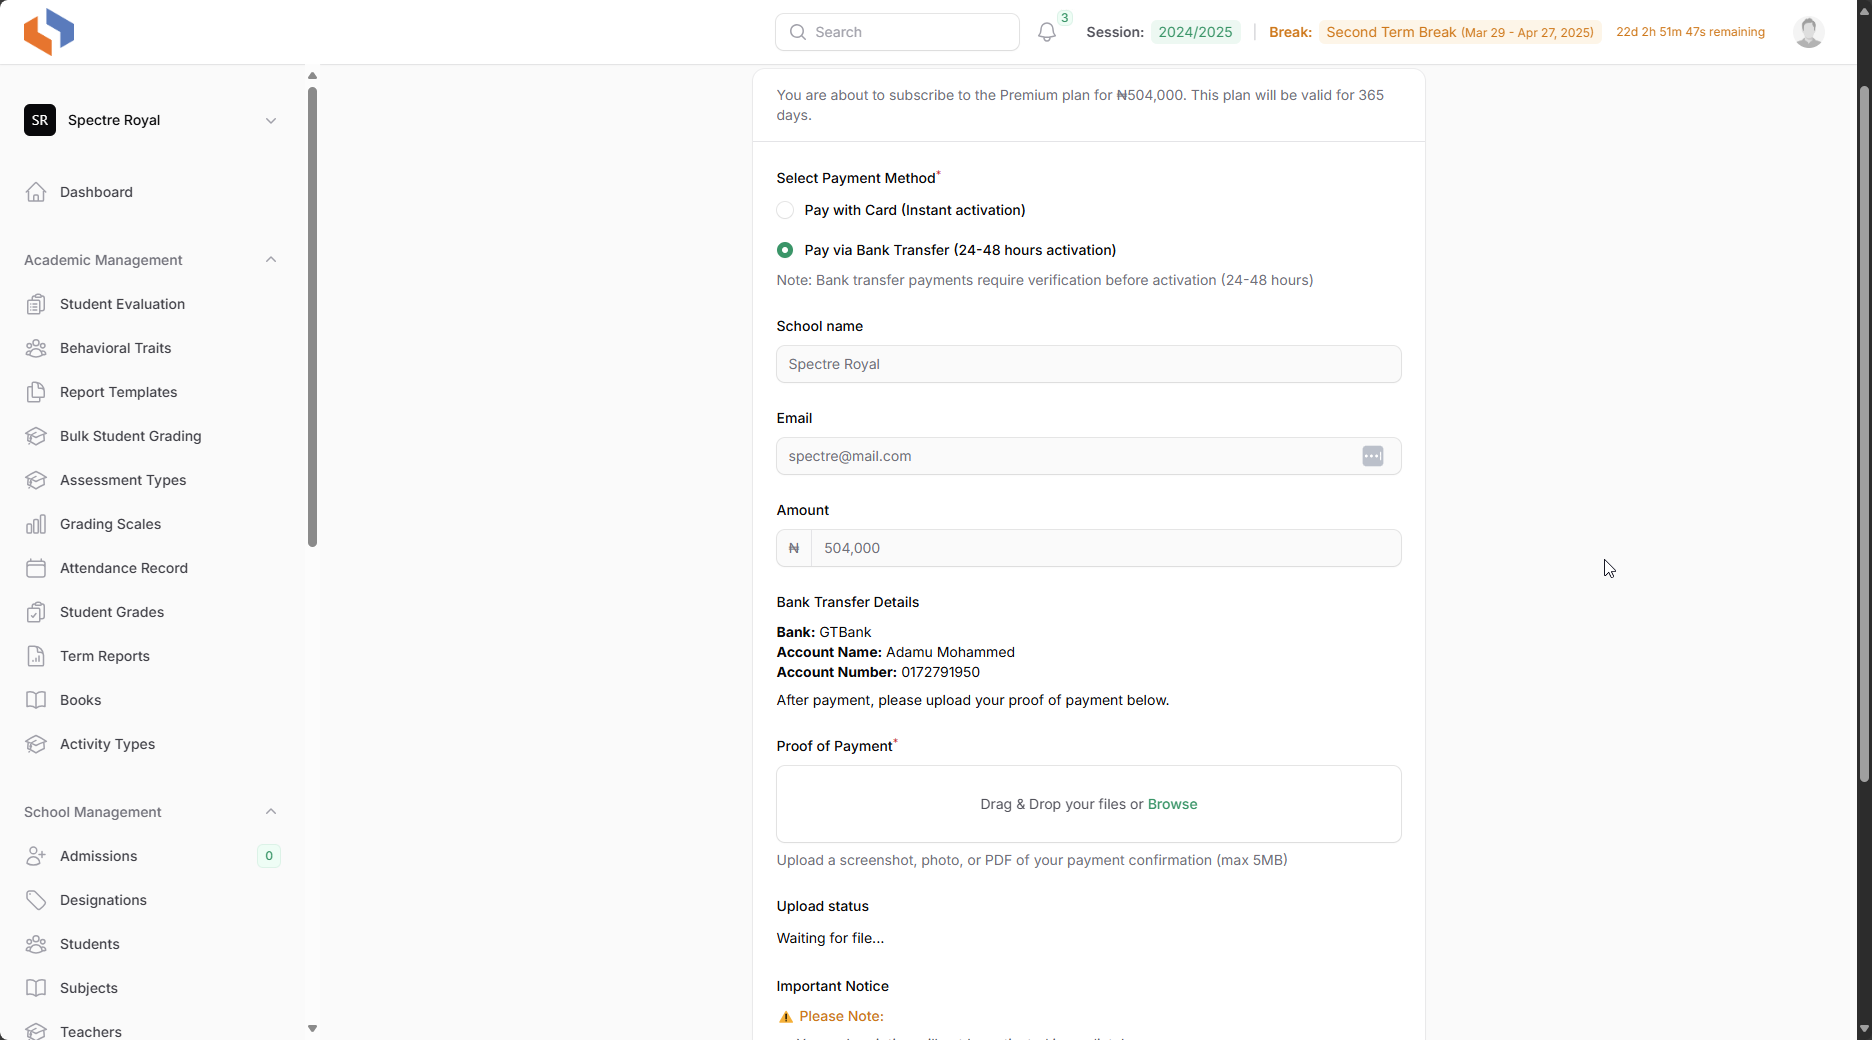
- Pay via Bank Transfer ( activation 24 hours ): Requires manual verification and proof upload. Delayed activation.
3. Proceed with Payment:
- Card: Click "Proceed to Payment" -> Redirect to Paystack.
- Bank Transfer: Note details -> Make transfer -> Return -> Upload Proof -> Click "Submit Payment Proof".
Step 6: Confirmation and Activation
- After Free Trial Activation: Active immediately.
- After Card Payment: Usually active immediately upon return to Oraion.
- After Bank Transfer Submission: Pending verification (24-48 business hours). Activation follows confirmation.
Post-Subscription
Access features based on your active plan. Check the "Manage Subscription" or "Billing" area (via School Name dropdown) to view plan status and details.
On this page
On this page
Related Articles
How to Register Your School
Registering Your School AccountThis guide provides a step-by-step walkthrough of the Oraion school registration process. Follow these instructions to...
Getting Started
Oraion School Management System: Learning Path & Documentation GuideWelcome to Oraion! This guide provides a recommended path for learning how to...
Academic Sessions & Terms
Managing Academic Sessions & TermsAcademic Sessions and Terms are fundamental structures in Oraion for organizing school activities, records, and...