Documentation
Navigation
Last updated: Apr 05, 2025
Navigating Oraion: Sidebar and Top Bar
Understanding how to move around the Oraion application is key to using it efficiently. This guide explains the main navigation elements: the Sidebar and the Top Bar.
A. The Main Sidebar (Left Panel)
The sidebar on the left is your primary tool for accessing different modules and features within Oraion.
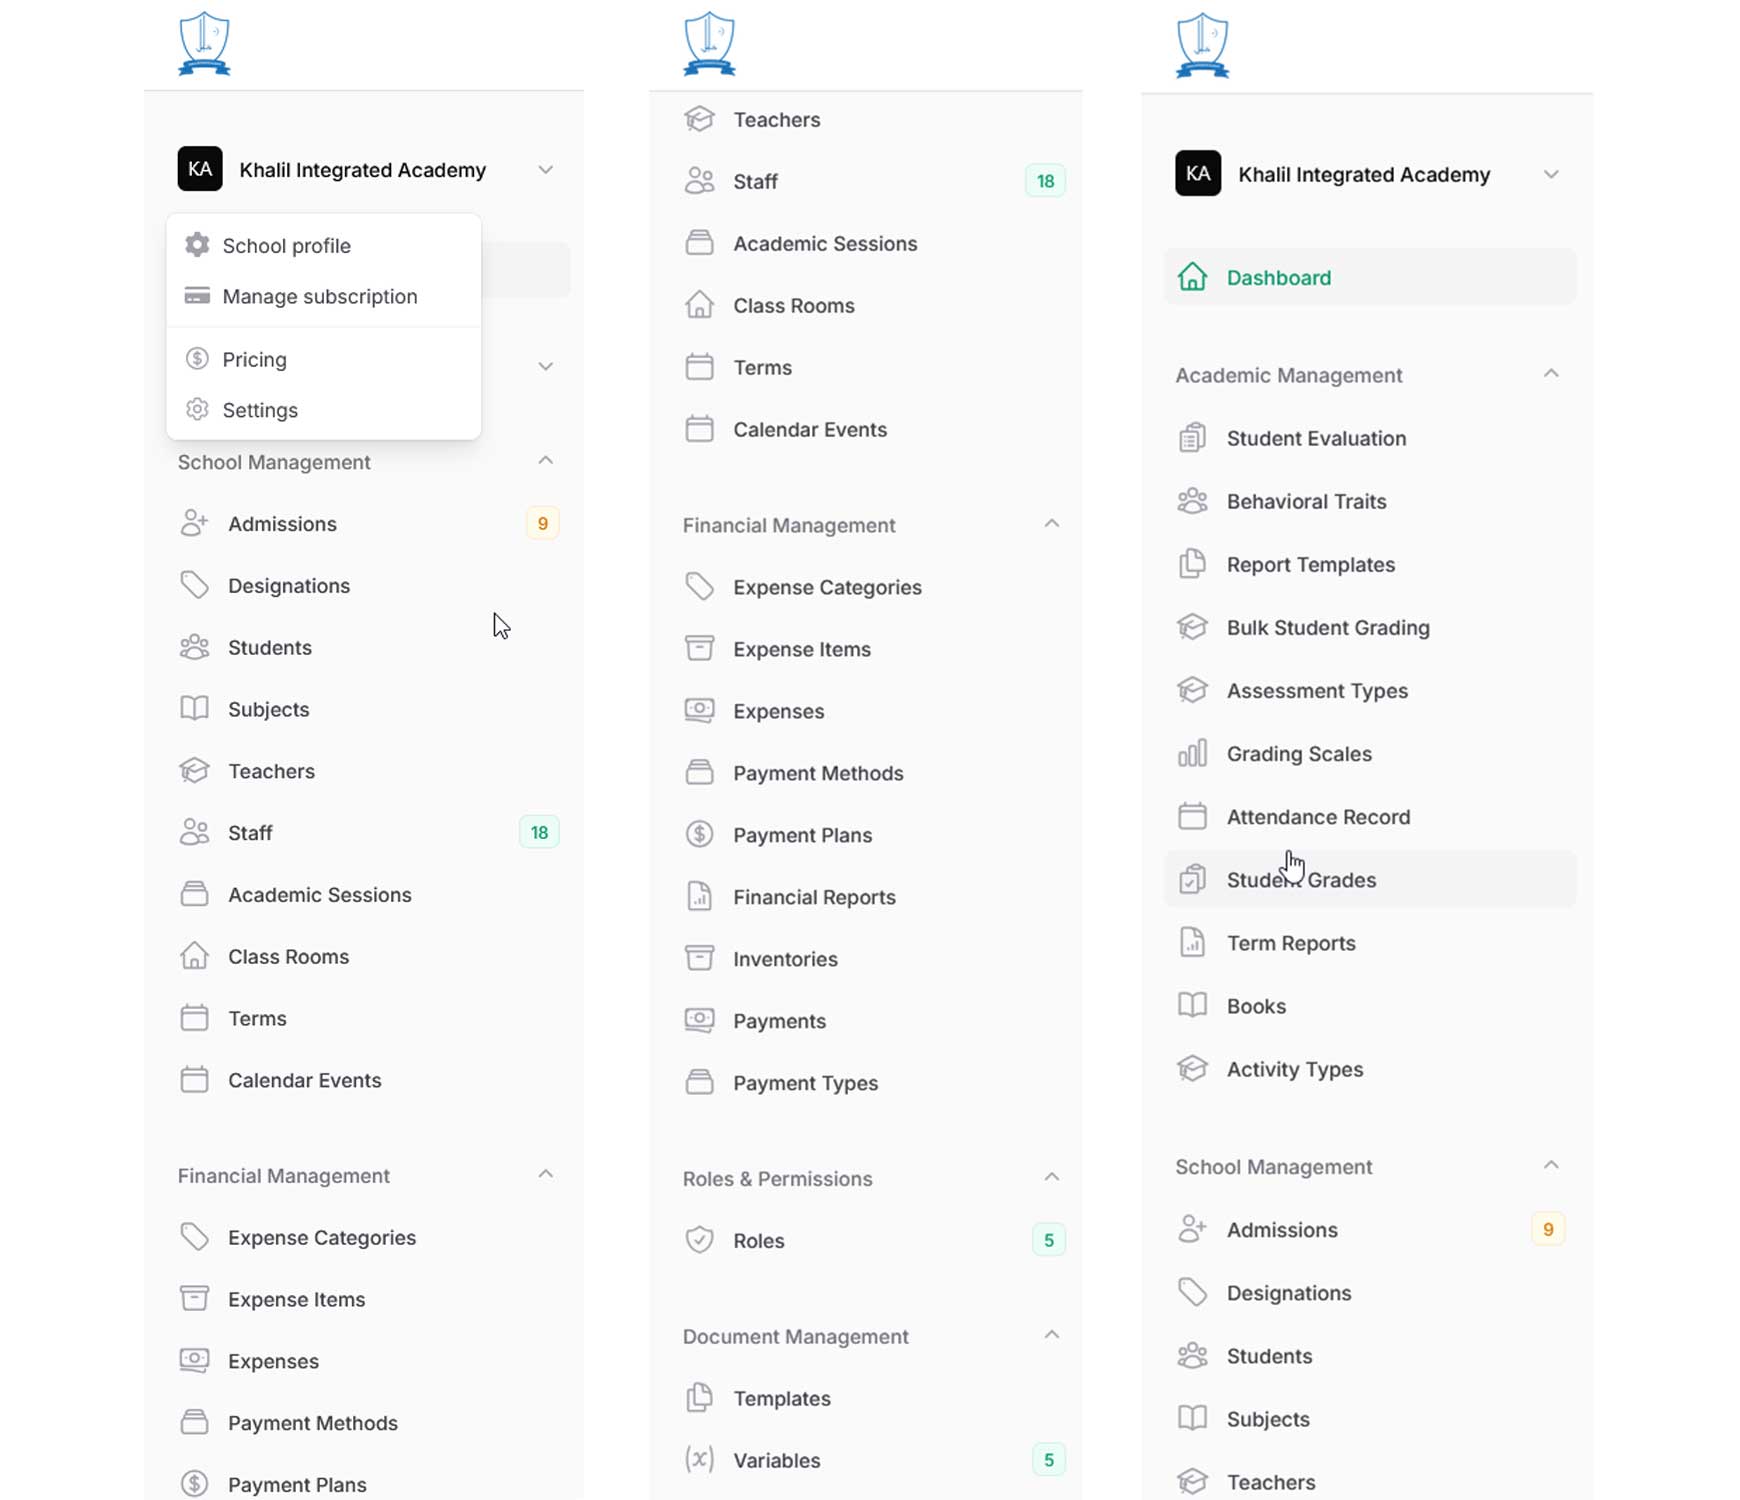
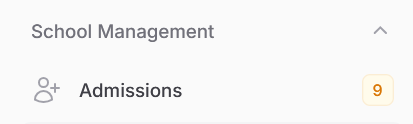
- School Menu (Top Section):
- Displays your school's initials/logo and name (e.g., "KA | Khalil Integrated Academy").
- Clicking the dropdown arrow reveals options specific to your school's account and overall settings:
- School profile: Edit basic school details, logo, and theme.
- Manage subscription: Access the Billing page to view/manage your current plan and payment history.
- Pricing: Navigate to the page showing all available subscription plans.
- Settings: Access various school-wide configuration options (like Admission Number format, default academic settings, etc.).
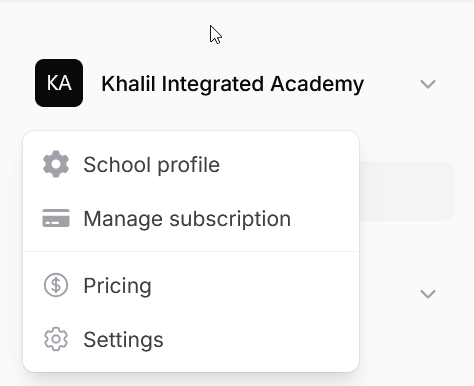
Access school-specific settings, billing, and pricing via the School Name dropdown.
- Dashboard Link: A direct link back to the main Dashboard overview page. It's often highlighted when you are currently on the Dashboard.

Click Dashboard to return to the main overview. - Modules & Sub-items: The rest of the sidebar is organized into collapsible modules:
- Major Modules: Categories like Academic Management, School Management, Financial Management, Roles & Permissions, Document Management.
- Expanding Modules: Clicking on a major module heading (or the arrow next to it) expands it to show related sub-items or specific functions. For example, expanding Financial Management reveals links to Expense Categories, Expenses, Payment Methods, Payment Plans, Financial Reports, Inventories, Payments, and Payment Types.
- Badges/Counts: Some sub-items display a badge with a number. The meaning of this count varies:
B. The Top Bar (Header)
The horizontal bar across the top provides quick information and access to user-specific actions.
- Search Bar: Used for searching within the application.
- Notifications Icon (Bell): Alerts you to new system notifications.
- Academic Period Status: Dynamically displays the current Session and either the active Term or details about an ongoing Break/Vacation (including remaining time). (See Dashboard Overview for visual examples).
- User Profile Menu:
- Clicking the user icon on the far right opens a dropdown menu.
- Profile: Access your personal user profile settings eg to change your email or password.
- Theme Toggle: Icons to switch the interface between Light Mode, Dark Mode, or System Default.
- Sign out: Log out of your Oraion account.
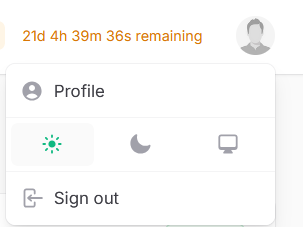
Access your profile, theme settings, and sign out via the User Profile menu.
Navigating:
- Clicking directly on a sub-item (like Students, Expenses, or Roles) will take you to that specific page or list of records.
- Clicking on a major module heading will expand or collapse its sub-menu.
By understanding the Sidebar and Top Bar, you can easily locate and access all the features Oraion offers to manage your school.
Category:
Dashboard & Navigation
Created by: