Staff Management
Last updated: Apr 06, 2025
Staff & Teacher Management
Content:
This section details how to add, view, and manage records for all school employees (administrators, teachers, support staff) within Oraion. Accurate staff records are crucial for assigning roles/permissions, managing payroll information, linking teachers to classes/subjects, and controlling system access.
Overview
- Staff Member Record: The core record containing personal, contact, employment, and qualification details for every employee.
- Teacher Designation: A specific flag (is_teacher) within the staff record, enabling additional details like subject/class assignments if toggled ON.
- User Account: An optional, linked account created for staff members who need to log in to Oraion. This User Account holds the login credentials (email/password) and assigned Roles/Permissions. Non-login staff do not require a User Account.
- Initial Setup: The primary administrator account used for initial school registration automatically has a corresponding Staff record and User Account created.
- ID Generation: Employee IDs are typically generated automatically based on patterns configured in General School Settings.
Accessing Staff Management
- Log in to your Oraion portal as an administrator.
- Navigate using the main sidebar. Expand the School Management module.
- Click on the "Staff" sub-item. Note the badge [1] indicating the number of staff records.
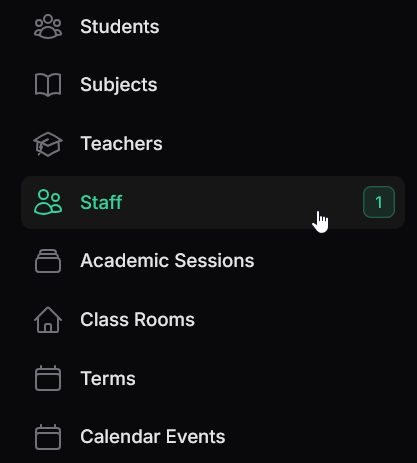
Access Staff Members list from the sidebar.
Managing Staff Records
- Viewing Staff Members:
- The "Staff Members" list displays all employees added to the system.
- Columns: Includes Profile Photo, Employee ID, Full name (with email below), Designation (badge), User Login (status badge like 'active' or 'No Account'), Phone number, Employee Status (badge like 'active'), Hire date. Use the "Toggle columns" icon (|||) to show/hide columns.
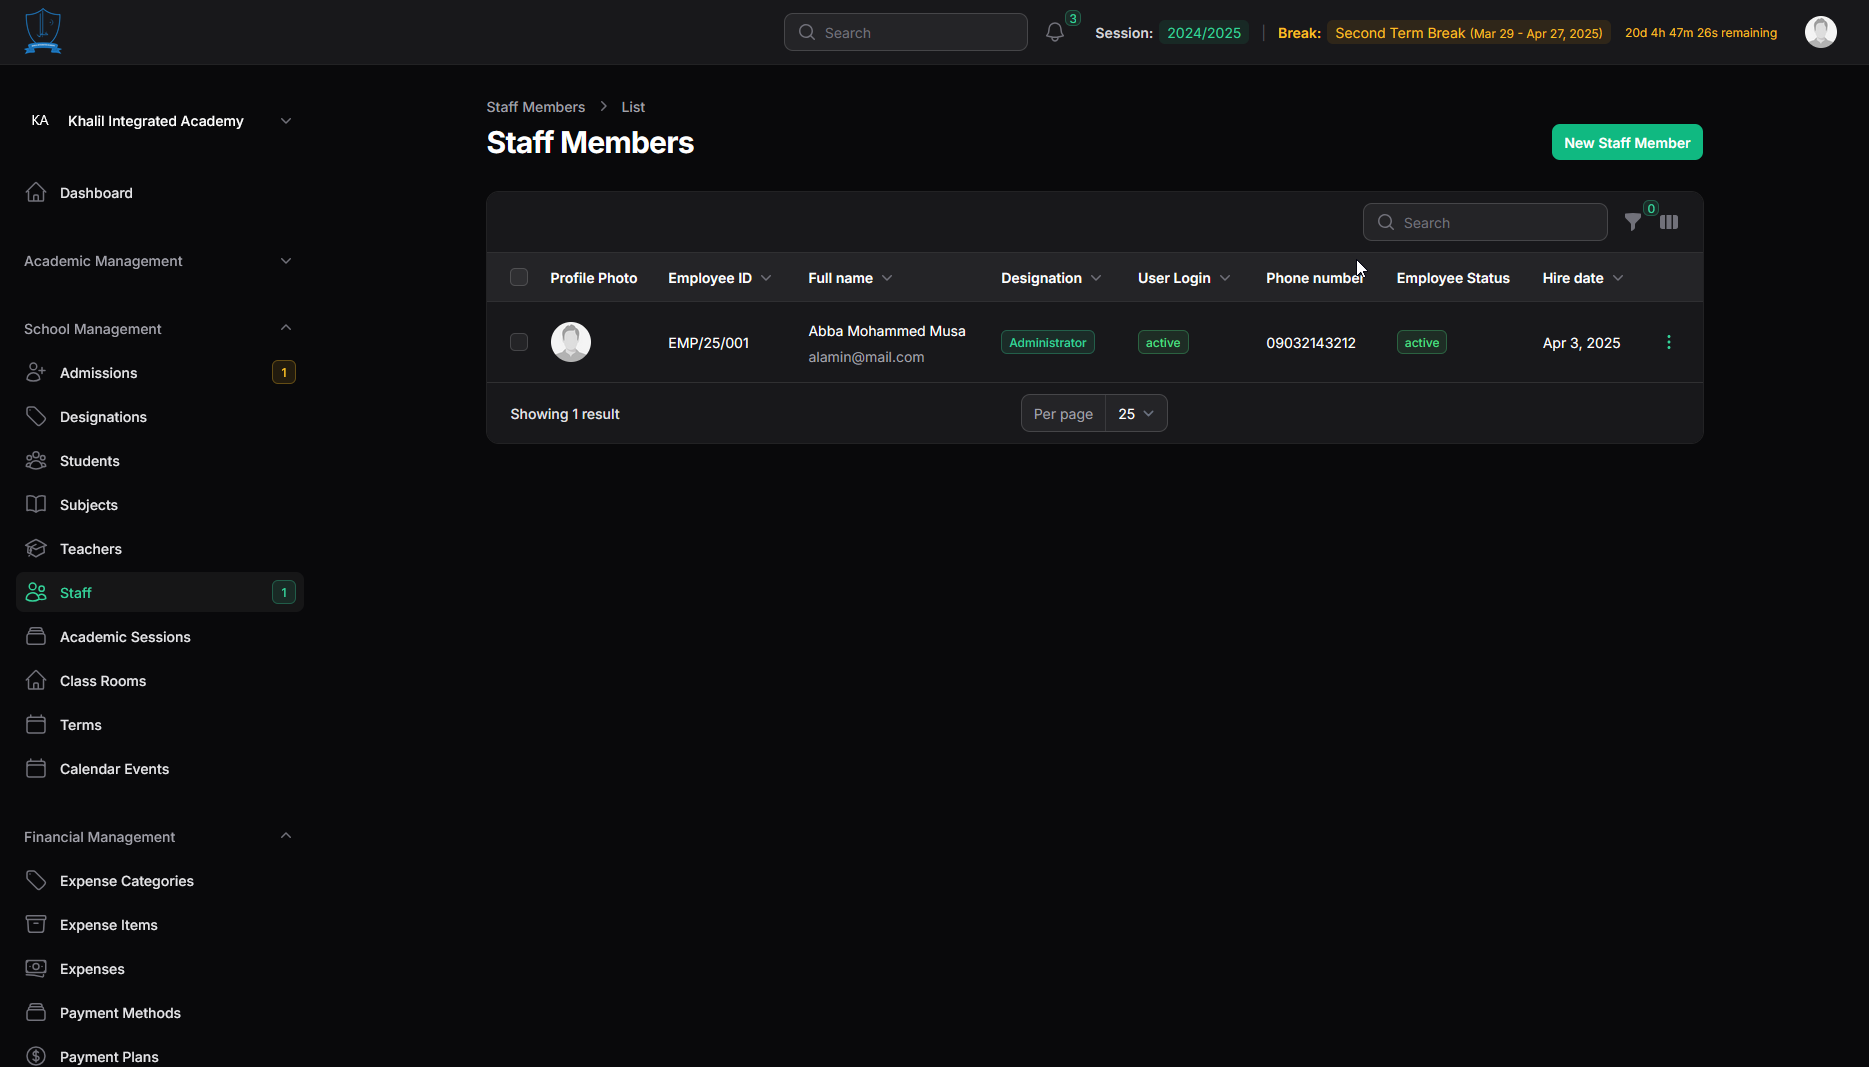
Staff Members list view. - Controls:
- New Staff Member: Button (top right) to add a new employee.
- Search: Search by name, ID, email, etc.
- Filters (Funnel icon): Filter the list by Teacher Status (All Staff, Teachers Only, Non-Teachers Only), Designation, or Status (employment status).
- Pagination: Navigate through pages.
- Row Actions (Three-dot menu):
- View profile: Opens a detailed read-only view of the staff member.
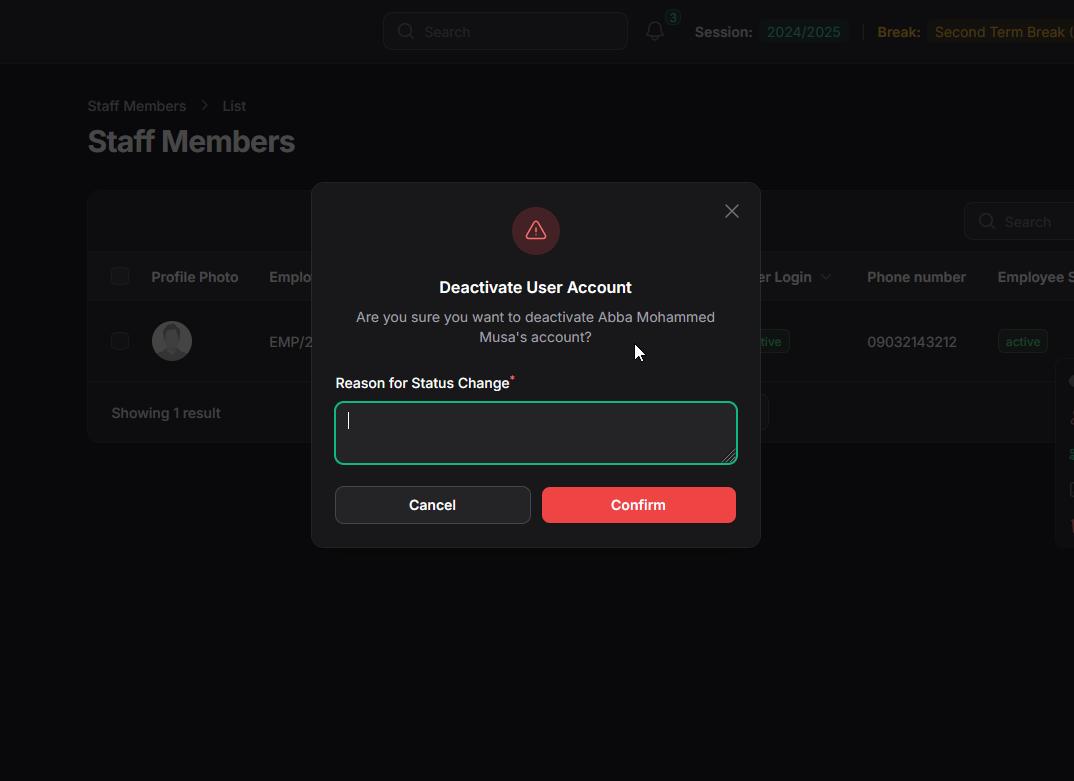
- Deactivate Account / Activate Account: (Only if User Account exists) Toggles the login status of the linked user account. Requires confirmation and a reason.
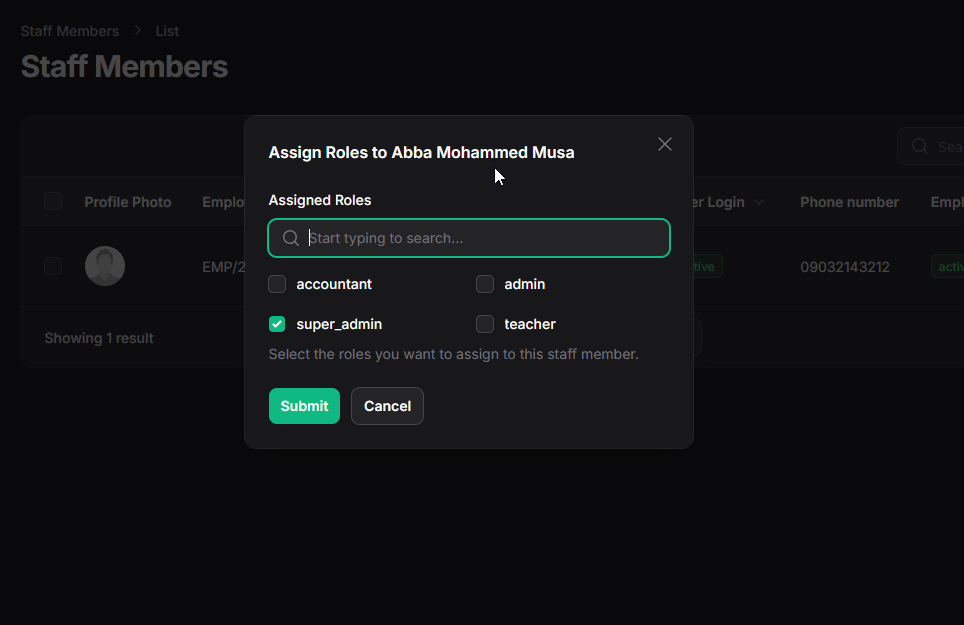
- Assign Roles: (Only if User Account exists) Opens a modal to assign system roles (accountant, admin, super_admin, teacher) to the linked user account.
- Edit: Opens the wizard to modify the staff member's record.
- Delete: Permanently removes the staff record (use with caution).
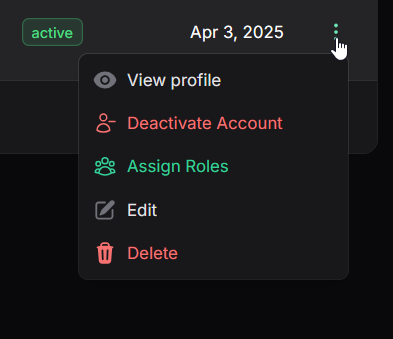
Staff list row actions menu
- Adding a New Staff Member (Wizard):
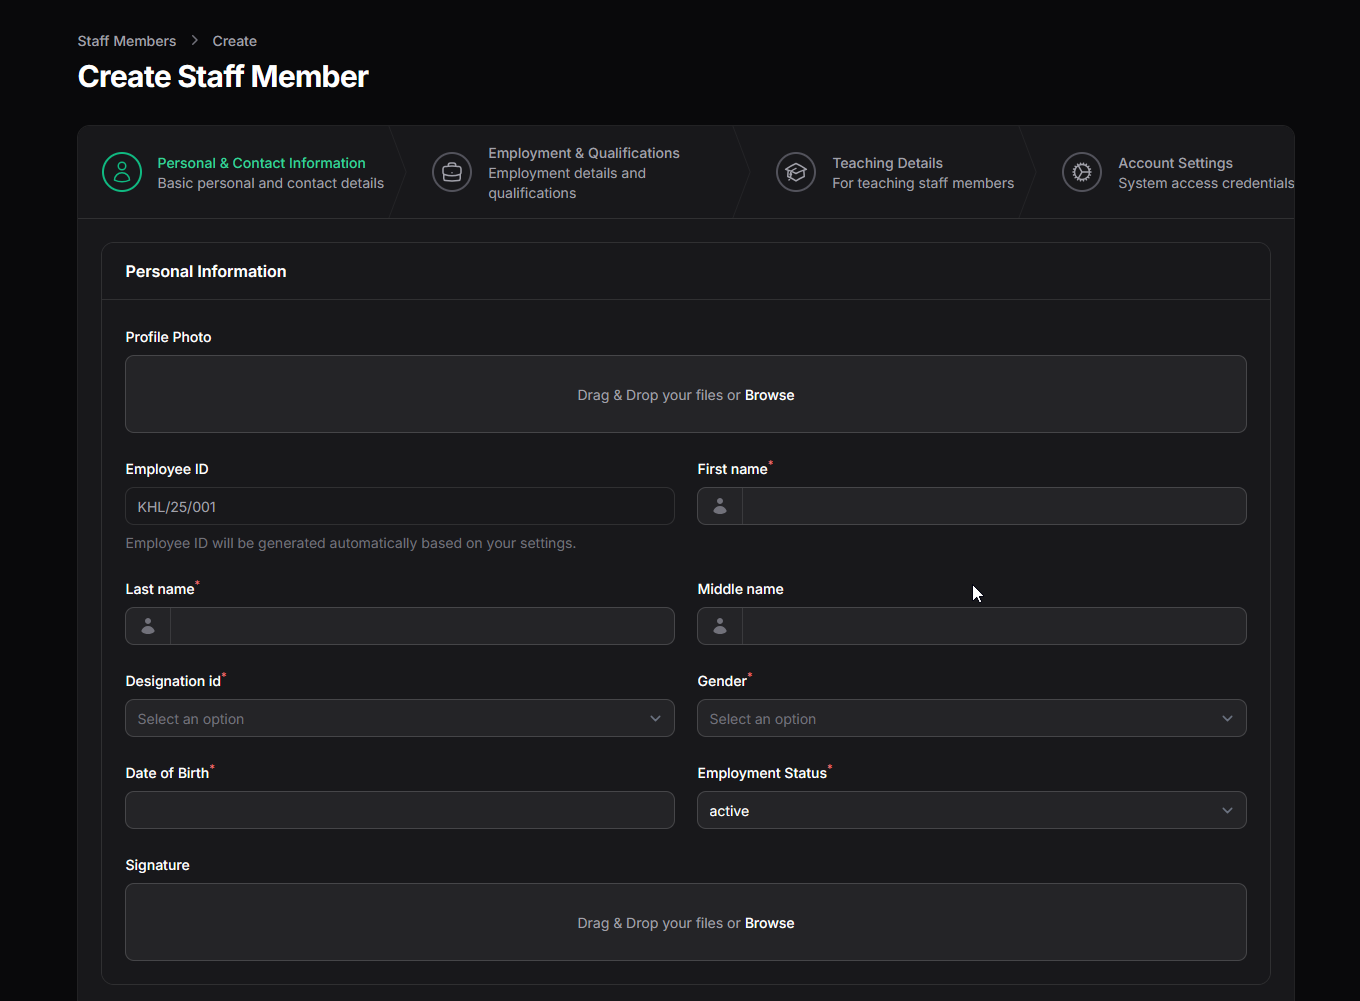
- Click the "New Staff Member" button. This opens a multi-step wizard.
- Step 1: Personal & Contact Information:
- Profile Photo: Upload the employee's picture.
- Employee ID: Displays the automatically generated ID based on settings. Usually read-only.
- First Name*, Last Name*, Middle Name.
- Designation*: Select the job title from the predefined list.
- Gender*.
- Date of Birth*: Select using the date picker.
- Employment Status*: Select the current status (e.g., 'active').
- Signature: Upload an image of the staff member's signature (useful for report cards).
- Phone Number*, Email* (must be unique if creating a user account), Address*.
- Click "Next".
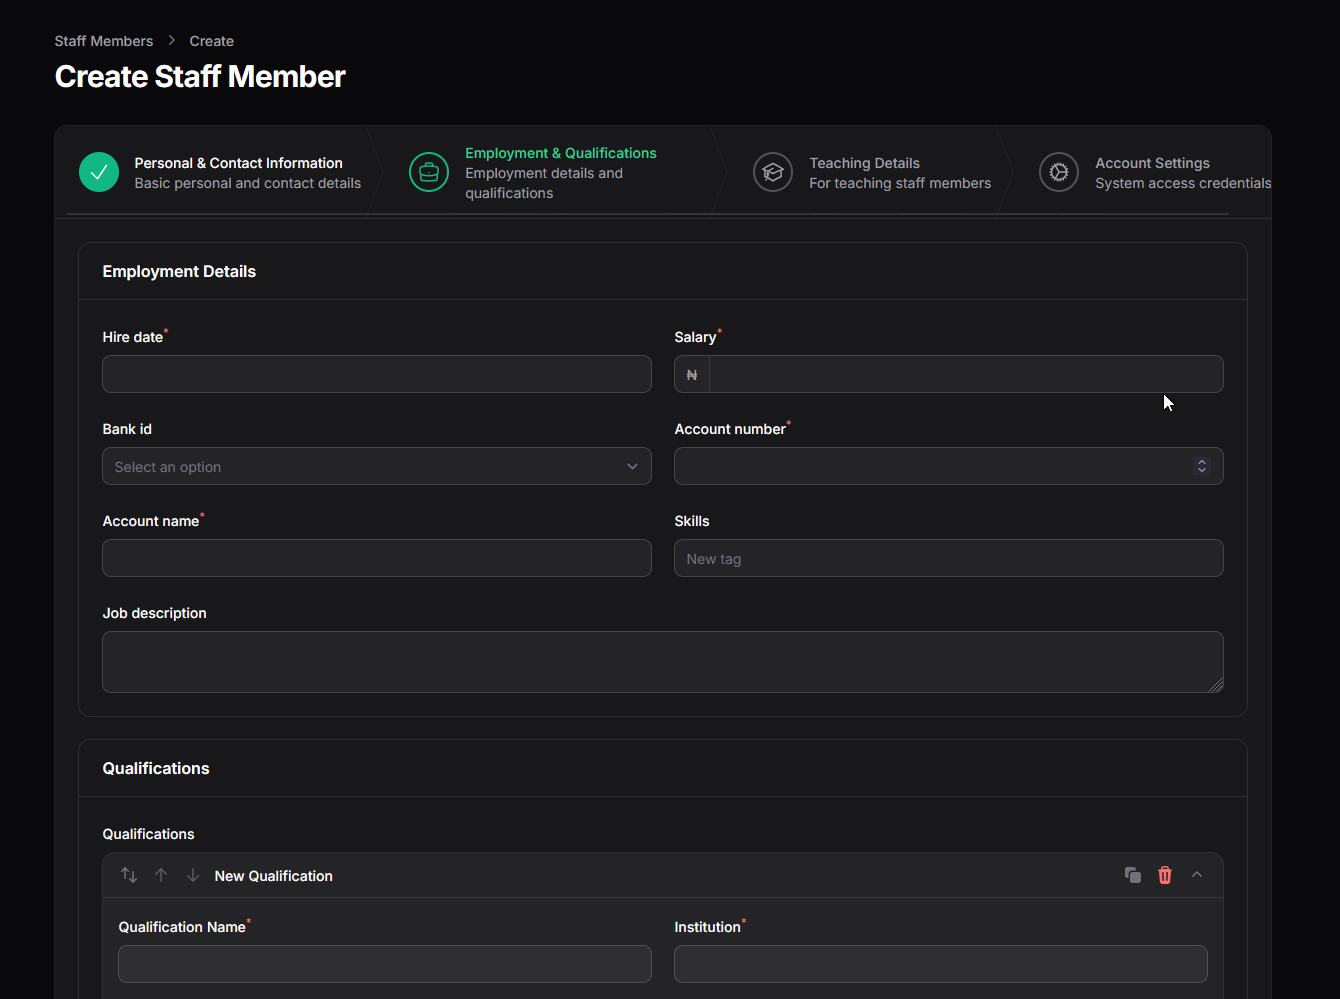
- Step 2: Employment & Qualifications:
- Employment Details: Hire date*, Salary* (with ₦ prefix), Bank* (select from list), Account number* (10 digits), Account name*, Skills (tag input), Job description.
- Qualifications: Use the Repeater (+) to add multiple qualifications. For each: Qualification Name*, Institution*, Year Obtained*, and optionally upload Documents (PDF/Image).
- Click "Next".
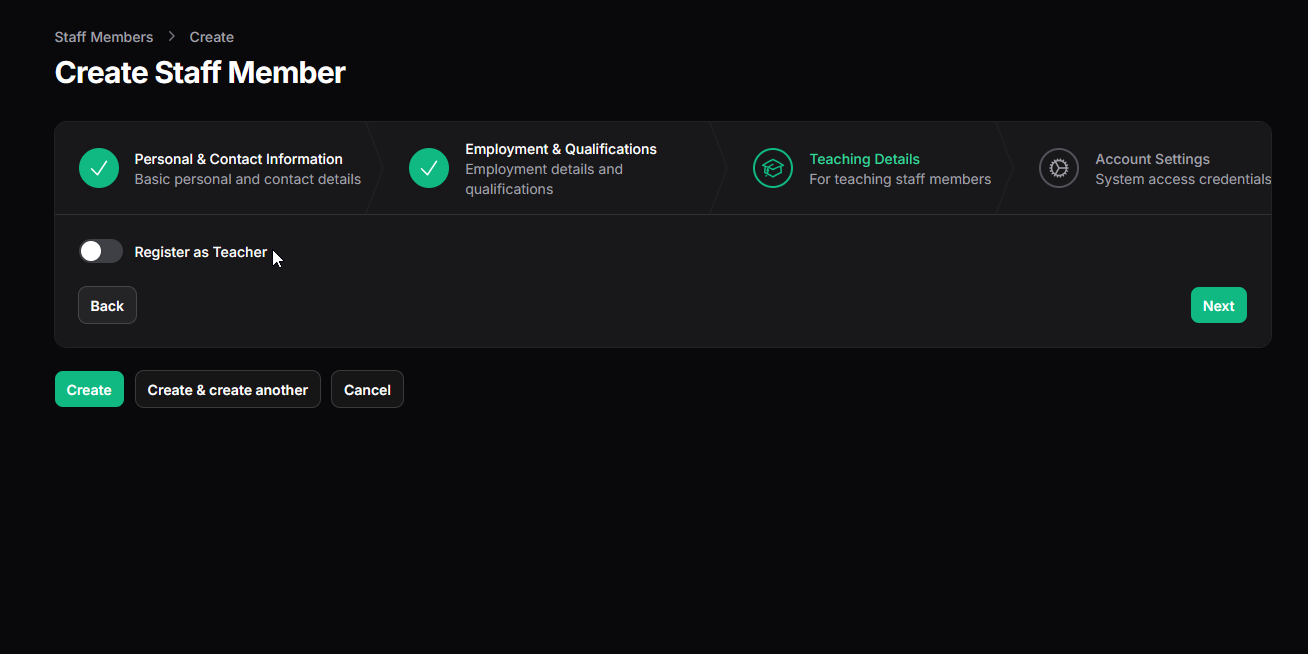
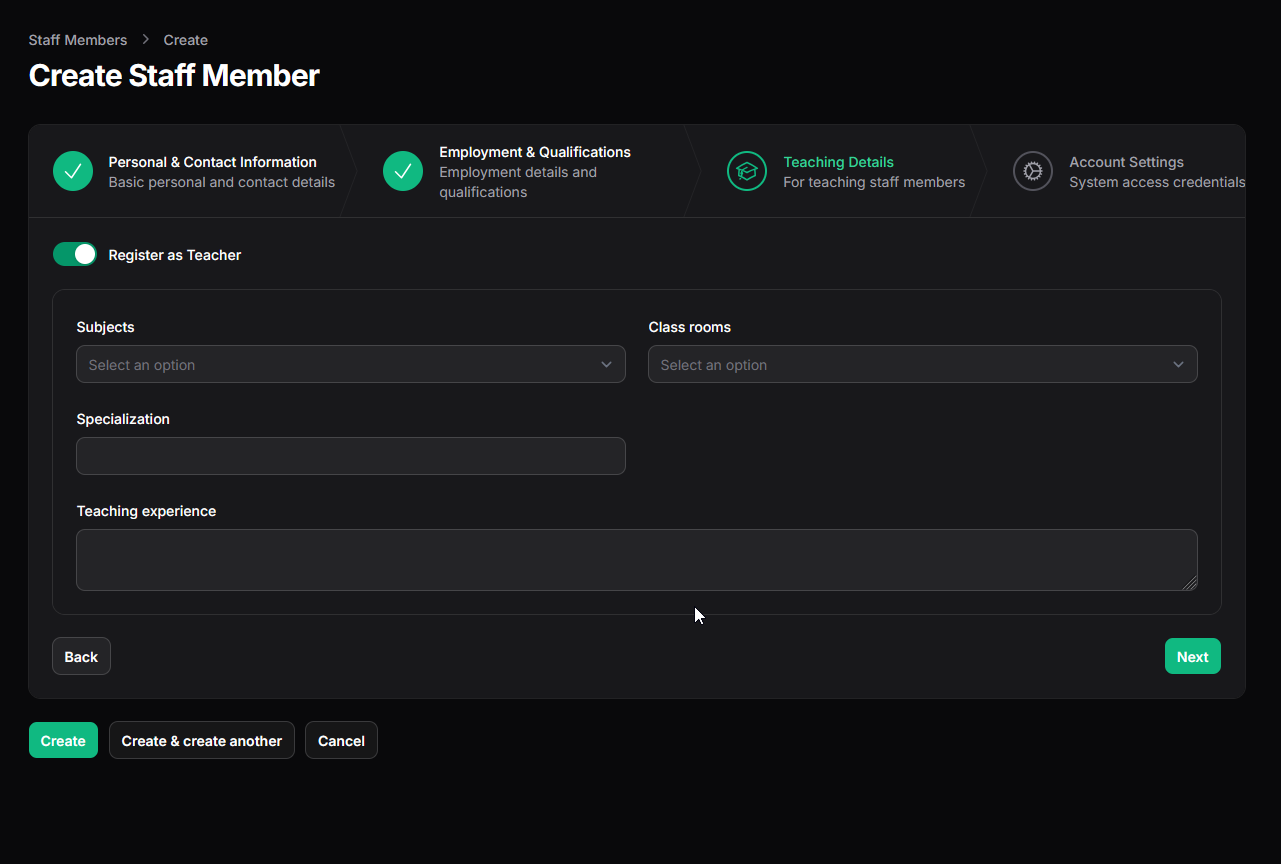
- Step 3: Teaching Details:
- Register as Teacher: Toggle this ON only if this staff member is a teacher. This reveals fields below.
- (If Teacher is ON): Subjects (multi-select), Class Rooms (multi-select - assign classes they are responsible for or teach in), Specialization, Teaching Experience (textarea).
- Click "Next".
(Screenshot: Show the 'Create Staff Member - Step 3' view with toggle OFF and ON.)
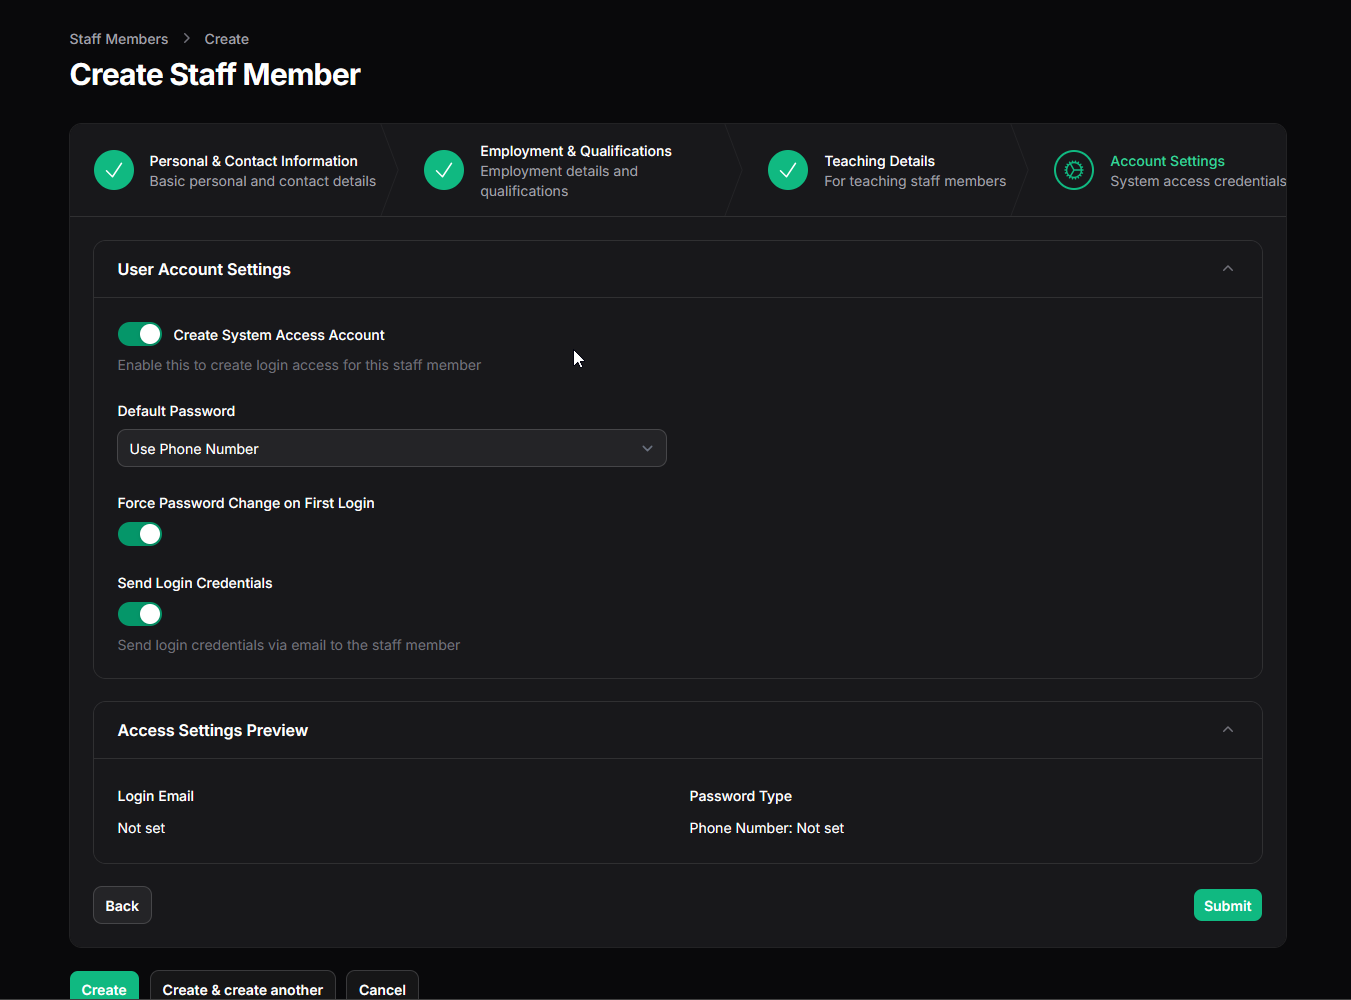
- Step 4: Account Settings:
- Create System Access Account: Crucially, toggle this ON if this staff member needs to log in to Oraion (e.g., teachers, accountants, admins).
- (If Create Account is ON):
- Default Password: Choose how the initial password is set (Use Phone Number, Use Email Address, Set Custom Password). If Custom, Custom Password and Confirmation fields appear.
- Force Password Change on First Login: Recommended ON. Requires the user to set a new password immediately after their first login.
- Send Login Credentials: If ON, attempts to email the login details (Email & Password) to the staff member's email address upon creation.
- Access Settings Preview: Shows the derived Login Email and the chosen Password Type (e.g., "Phone Number: Not set" until saved).
- Click "Submit" (on the final step) to finish creating the staff member. The buttons Create and Create & create another might also appear at the bottom throughout the wizard for quicker creation.
- Editing Staff:
- Click the "Edit" action on the staff list.
- The same wizard interface appears, pre-filled with the staff member's data. Navigate through the steps to make changes.
- You can modify personal info, employment details, teaching assignments, and user account settings (if applicable).
- Click "Save changes" (usually replaces "Submit" in edit mode).
- Managing User Accounts (via List Actions):
- Assign Roles: Click the 'Assign Roles' action. A modal appears listing available roles (accountant, admin, super_admin, teacher). Check the desired roles and click Submit. This determines the user's permissions.
- Deactivate/Activate Account: Click the relevant action. A confirmation modal appears. Enter a Reason for Status Change and click Confirm. This enables or disables the staff member's ability to log in without deleting their record.
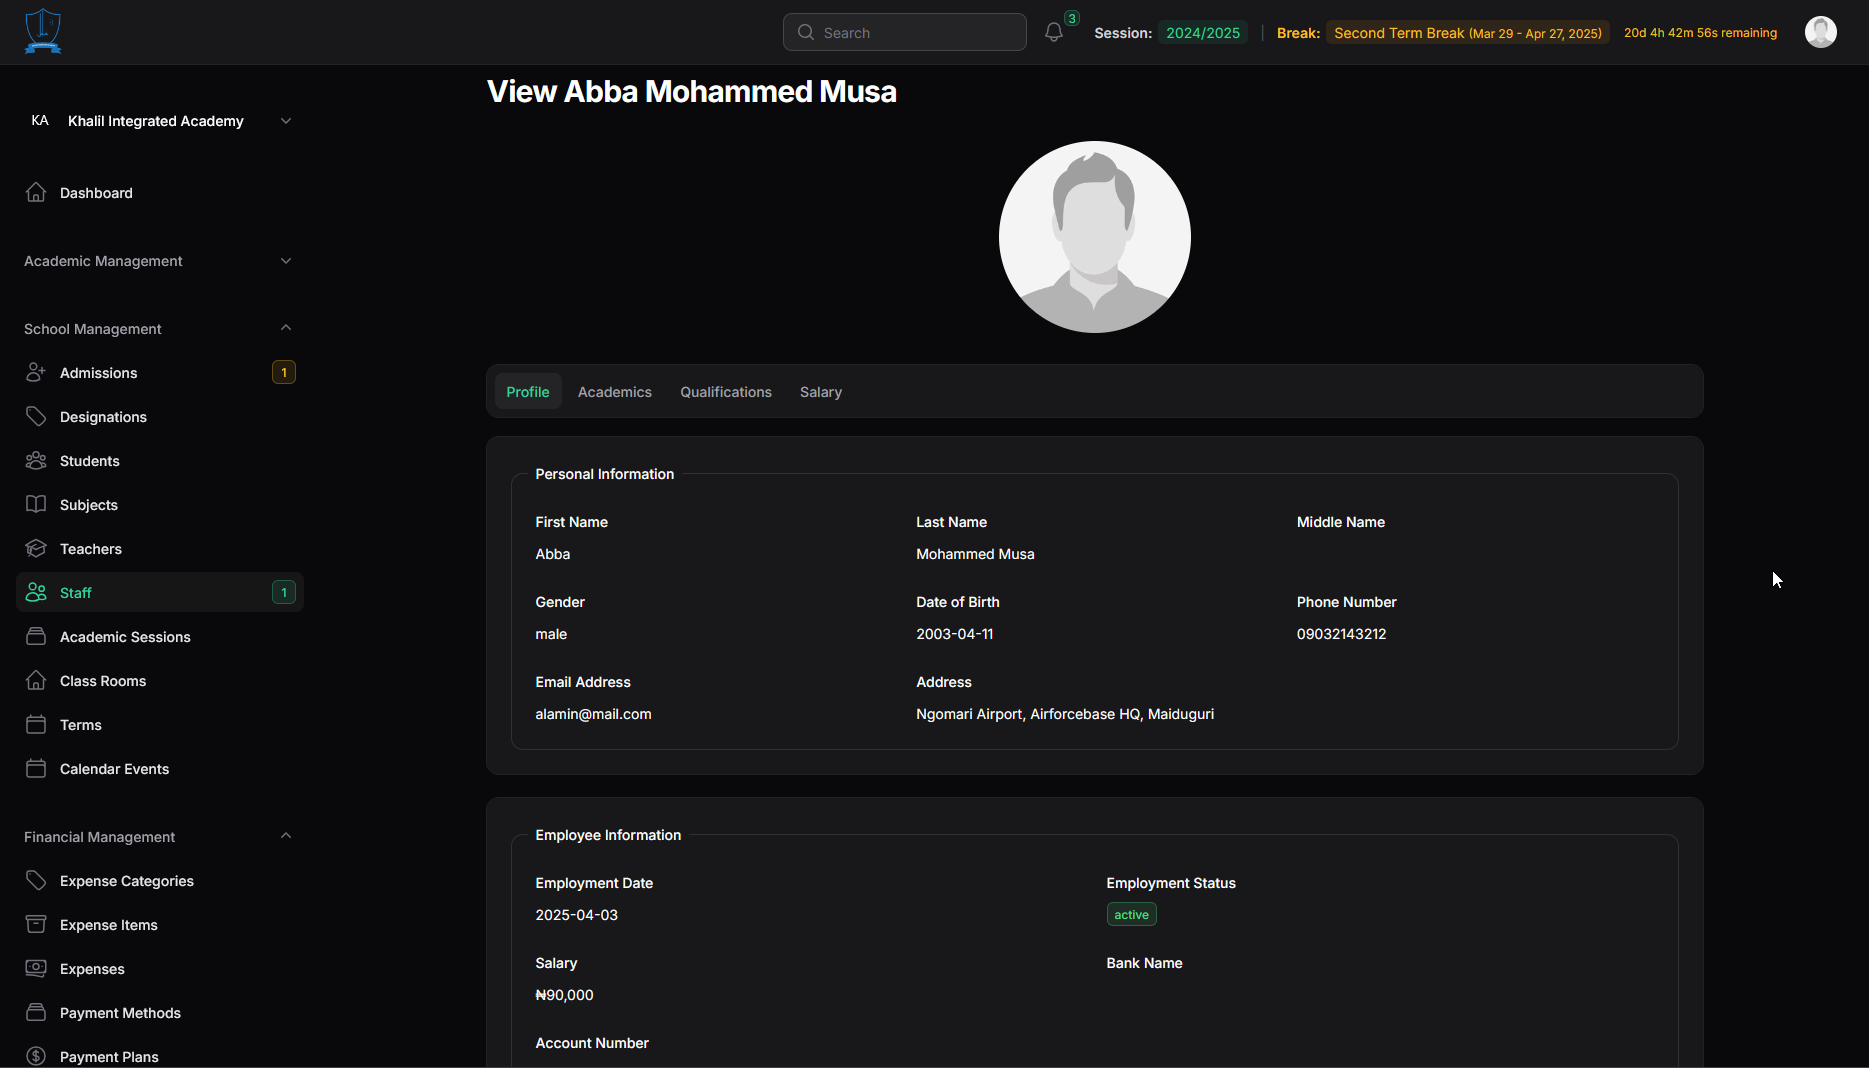
- Viewing Staff Profile:
- Click the View profile action on the staff list.
- This opens a detailed, often tabbed view (Profile, Academics, Qualifications, Salary) showing all recorded information for the staff member in a read-only format.
Important Considerations:
- User Account vs. Staff Record: Remember the distinction. All employees need a Staff record. Only those needing system access need a linked User Account.
- Role Assignment: Creating a User Account is not enough; you must assign appropriate roles using the 'Assign Roles' action to grant permissions.
- Feature Limits: Your school's subscription plan might limit the number of Staff members with active User Accounts. If the limit is reached, you may be prevented from creating new user accounts until you upgrade (FeatureService check).
- Employee ID Generation: Ensure the format is correctly set in General School Settings before adding staff if using automatic generation.
- Teacher Flag: Correctly use the Register as Teacher toggle to manage teaching-specific assignments.
- Deactivation vs. Deletion: Deactivate user accounts for temporary suspension. Deactivate staff records (via Employment Status) for resigned/terminated staff to preserve history. Only use Delete for records created entirely in error.
Properly managing Staff records and associated User Accounts is fundamental for assigning responsibilities, controlling system access, and maintaining accurate employee information within Oraion.
On this page
On this page
Related Articles
Student Management
Managing Student Records (Profiles)Content:This guide explains how to access, view, update, and manage the records of students who are officially enro...
Classes Management
Managing Classes & Sections (Classrooms)Classrooms in Oraion represent the specific academic groups or sections where students are placed (e.g., "...
Subjects Management
Managing SubjectsSubjects represent the core academic disciplines taught at your school (e.g., Mathematics, English Language, Physics, Al Quran). Defi...