Teachers Management
Last updated: Apr 08, 2025
Managing Teacher Assignments (Teachers View)
While general staff information is managed under the "Staff" section, Oraion provides a dedicated "Teachers" view to specifically manage staff members designated as teachers and their core academic assignments (Classes and Subjects).
- Purpose: To view a list of all staff members registered as teachers and easily manage which subjects they teach and which classes they are assigned to.
- Relationship to Staff: The "Teachers" list displays staff members for whom the "Register as Teacher" toggle was enabled during their creation or editing process (in the Staff module). It draws information from the underlying Staff record (like name, photo, phone).
- Focus: This section primarily deals with linking existing Teachers (who are also Staff members) to the Classes and Subjects they handle.
Accessing the Teachers List
- Log in to your Oraion portal as an administrator.
- Navigate using the main sidebar. Expand the School Management module.
- Click on the "Teachers" sub-item.
- (Screenshot: Show sidebar with Teachers highlighted under School Management.)
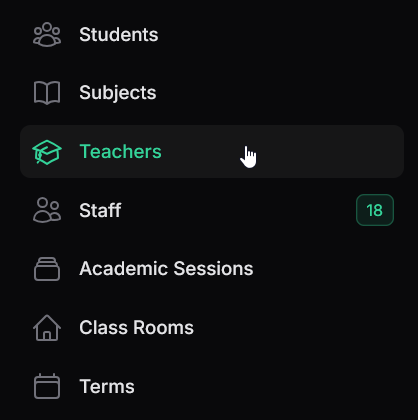
Access the Teachers list from the sidebar under School Management.
Managing Teachers and Assignments
- Viewing Teachers:
- The list displays staff members currently designated as teachers.
- Columns:
- Profile Picture: The teacher's photo (from their Staff record).
- Staff Name: The teacher's full name.
- Phone Number: The teacher's contact number.
- Class Taken: Lists the names of the classrooms assigned to this teacher.
- Subjects: Lists the names of the Subjects assigned to this teacher.
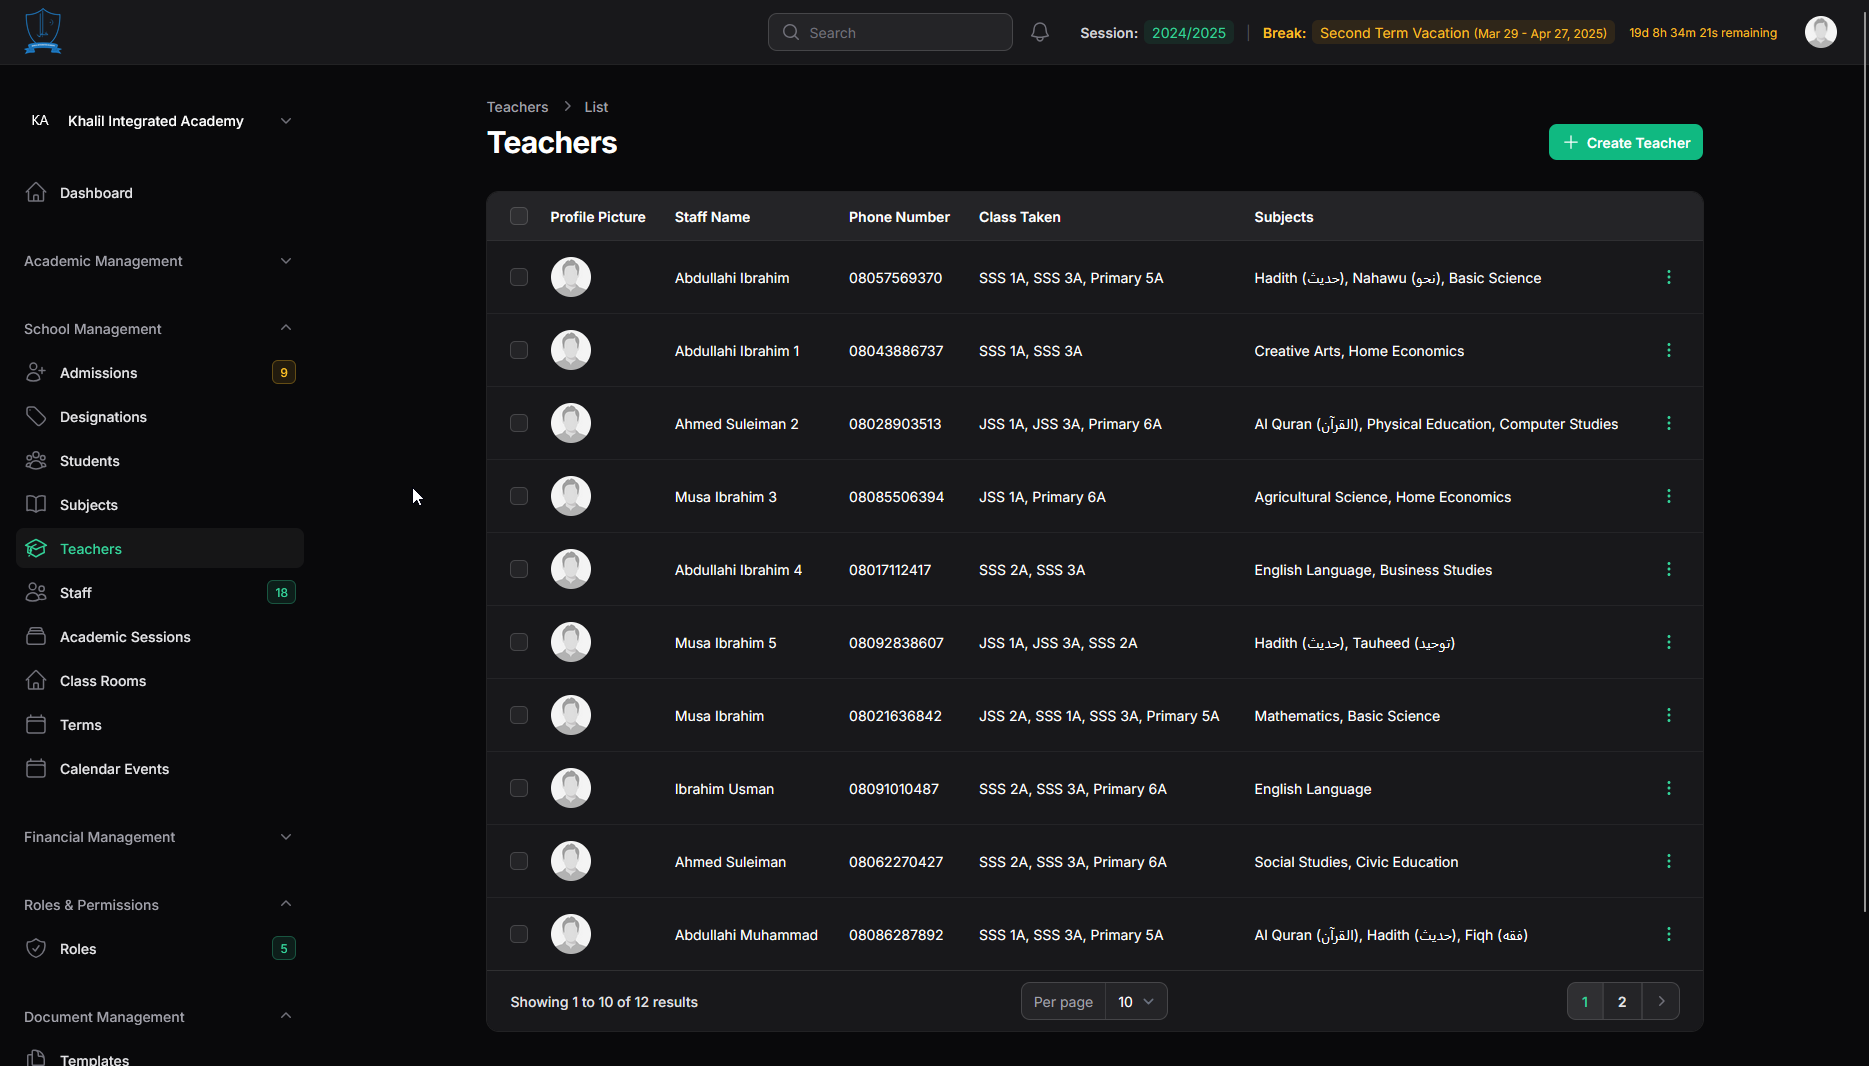
Oraion Teachers list view.
- Controls:
- Create Teacher: Button (top right). Note: This button redirects you to the "Create Staff Member" wizard (See Step 13), where you need to ensure the "Register as Teacher" toggle is enabled in the "Teaching Details" step.
- Pagination: Navigate through pages.
- Row Actions (Three-dot menu): This menu provides quick actions specifically related to the teacher's role and assignments:
- Manage Subjects: Opens a modal to assign/unassign subjects to this teacher.
- Manage Classes: Opens a modal to assign/unassign classes to this teacher.
- View Staff Profile: Navigates to the detailed profile view of the underlying Staff record.
- Edit: Allows editing the teacher record ( redirects to Staff edit).
- Delete: Removes the Teacher designation and assignments.
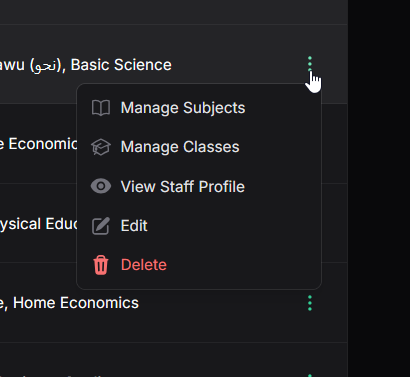
Teachers list row actions menu showing Manage Subjects/Classes.]
- Creating a Teacher:
- Click the "Create Teacher" button.
- You will be redirected to the "Create Staff Member" wizard.
- Follow the steps outlined in "Staff & Teacher Management", ensuring you:
- Navigate to the "Teaching Details" step.
- Toggle "Register as Teacher" ON.
- Optionally assign initial Subjects and Class Rooms directly in this step.
- Complete the remaining steps and submit the form. The newly created staff member will now also appear in the "Teachers" list.
- Managing Subject Assignments:
- From the Teachers list, click the three-dot action menu for a teacher and select "Manage Subjects".
- A modal titled "Manage Subjects" appears.
- The "Select Subjects" field shows currently assigned subjects (with 'x' to remove).
- Click inside the "Select an option" dropdown to search or scroll through all available Subjects.
- Select additional subjects to assign them. Click the 'x' on existing subjects to unassign them.
- Click "Submit" to save the subject assignments.
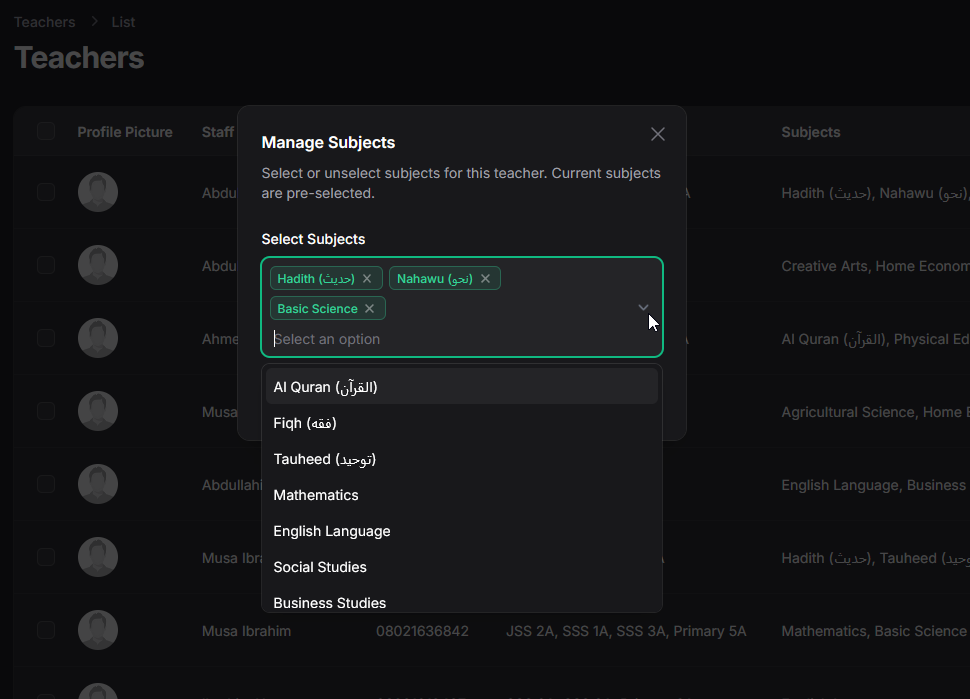
Assigning or unassigning subjects taught by the teacher.
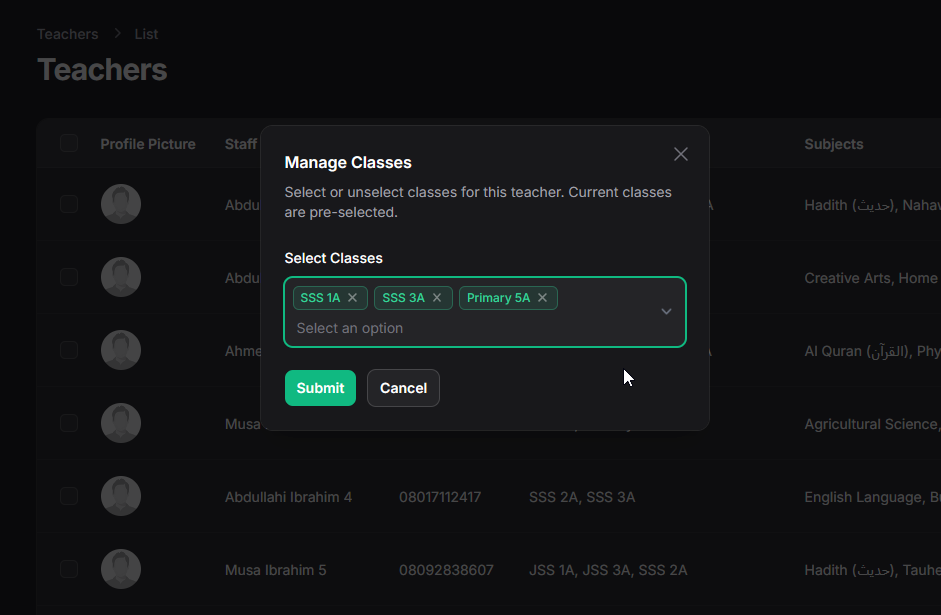
- Managing Class Assignments:
- From the Teachers list, click the three-dot action menu for a teacher and select "Manage Classes".
- A modal titled "Manage Classes" appears.
- The "Select Classes" field shows currently assigned classes.
- Click inside the "Select an option" dropdown to search or scroll through all available Classrooms.
- Select additional classes to assign the teacher to them. Click the 'x' on existing classes to unassign them.
- Click "Submit" to save the class assignments.
Important Considerations:
- Teacher vs. Staff: Remember that a Teacher is a Staff member. Edits to personal/contact/employment details are usually done via the main "Staff" record/edit page (accessible via "View Staff Profile" action). The "Teachers" view focuses on the teaching role assignments.
- Assignments Drive Functionality: Assigning subjects and classes correctly here is essential for features like:
- Allowing teachers to enter grades for specific subjects/classes.
- Allowing teachers to take attendance for assigned classes.
- Populating timetables (coming soon).
- Generating reports that show class teachers or subject teachers.
Effectively using the "Teachers" list allows administrators to clearly define and manage the academic responsibilities of their teaching staff.
On this page
On this page
Related Articles
Student Management
Managing Student Records (Profiles)Content:This guide explains how to access, view, update, and manage the records of students who are officially enro...
Classes Management
Managing Classes & Sections (Classrooms)Classrooms in Oraion represent the specific academic groups or sections where students are placed (e.g., "...
Subjects Management
Managing SubjectsSubjects represent the core academic disciplines taught at your school (e.g., Mathematics, English Language, Physics, Al Quran). Defi...